Smoothing your concrete surface at home can be a game-changer, whether you’re dealing with a rough driveway, uneven patio, or a worn-out garage floor. A smooth concrete surface isn’t just about aesthetics—it also enhances durability, safety, and ease of cleaning. If you’ve ever wondered how to transform that rough, bumpy concrete into a sleek, professional-looking finish without calling in expensive contractors, this guide is for you.
In this article, we’ll dive into easy ways to smooth your concrete surface at home, exploring ten proven techniques anyone can tackle. From basic sanding to advanced grinding, we’ll cover the tools, methods, and safety tips you need. Let’s get started on turning your concrete surface from rough to remarkable.
Understanding Concrete Surface Roughness and Its Causes
Before jumping into smoothing methods, it’s crucial to understand why concrete surfaces get rough in the first place. Concrete can develop roughness due to several factors:
- Improper finishing during pouring: If the surface isn’t troweled properly or finished too early, it can harden with a rough texture.
- Weather conditions: Rain, extreme heat, or cold during curing can cause surface irregularities.
- Wear and tear: Over time, heavy foot or vehicle traffic, as well as environmental exposure, can chip or erode the concrete surface.
- Use of low-quality materials: Poor mix design or insufficient cement content can lead to weak, uneven surfaces.
Recognizing these causes helps you choose the right smoothing method that will effectively address the specific issues present on your concrete surface.
Essential Tools and Materials for Smoothing Concrete
Having the right tools and materials makes smoothing your concrete surface manageable and efficient. Here’s a quick rundown of essentials:
- Concrete grinder: For heavy-duty smoothing and removing rough patches.
- Power trowel: Ideal for large surfaces, providing a polished finish.
- Self-leveling concrete: A mix used to fill in low spots and create an even surface.
- Concrete resurfacer: A thin overlay applied to worn or damaged concrete.
- Trowels (hand and power): For spreading and smoothing fresh concrete or resurfacer.
- Wet/dry sanders or sandpaper: Useful for fine sanding or smoothing minor imperfections.
- Protective gear: Gloves, safety glasses, dust masks, and ear protection.
- Cleaning supplies: Brooms, pressure washers, and degreasers to prep the surface.
Having these on hand will streamline your project and improve your chances of achieving a smooth finish.
Preparing Your Concrete Surface Before Smoothing
Preparation is key to a successful concrete smoothing project. Follow these steps before applying any smoothing method:
- Clean the surface: Remove dirt, grease, moss, and loose debris using a broom, pressure washer, or degreaser.
- Repair cracks and holes: Use a concrete patching compound to fill any damage and let it cure completely.
- Check moisture: Concrete should be dry before smoothing, as moisture can affect the adhesion of resurfacing products.
- Etch the surface (if needed): For some resurfacing products, etching with muriatic acid creates a rough profile that improves bonding.
Proper preparation ensures the smoothing materials adhere well and last longer.
Method 1: Using a Concrete Grinder for a Professional Finish
One of the most effective ways to smooth a concrete surface at home is by using a concrete grinder. This powerful tool uses rotating diamond blades or discs to grind down rough patches, remove coatings, and level uneven areas.
Step-by-Step Guide:
- Safety first: Wear protective gear, including goggles, earplugs, gloves, and a dust mask.
- Mark problem areas: Identify the roughest spots that need grinding.
- Set up the grinder: Attach the appropriate diamond grinding cup or disc for the job.
- Start grinding: Work the grinder slowly over the surface in overlapping passes, applying even pressure.
- Check progress: Stop frequently to inspect the surface and avoid over-grinding.
- Clean up: Sweep or vacuum dust before applying any finish or sealant.
Concrete grinders can be rented from most hardware stores, making them accessible for DIYers. Grinding delivers a professional, smooth finish that’s perfect for patios, driveways, and indoor floors.
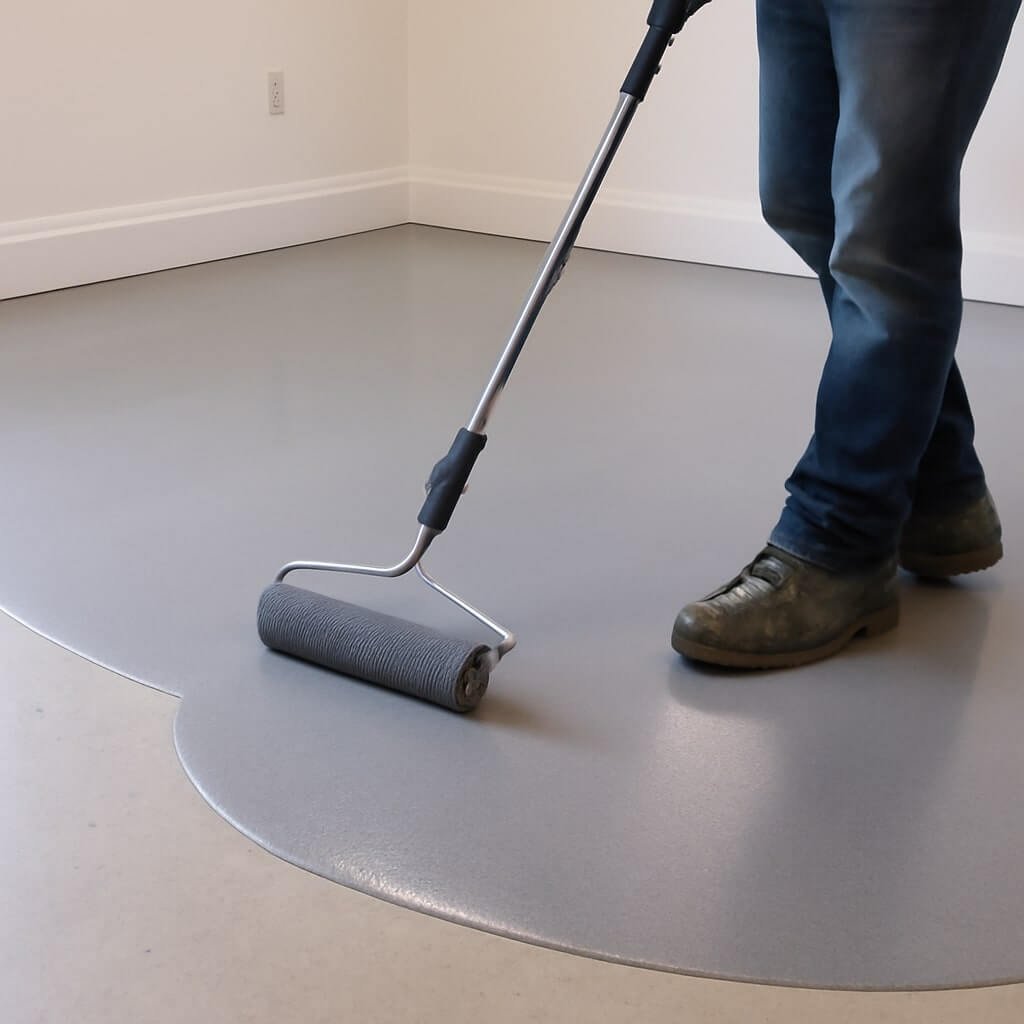
Method 2: Applying Self-Leveling Concrete to Achieve Smoothness
Self-leveling concrete is a cement-based compound that flows easily and levels itself out on your existing concrete surface. It’s an excellent option for fixing dips, holes, or uneven patches without major demolition.
How to Use Self-Leveling Concrete:
- Prepare the surface: Clean and repair cracks as mentioned earlier.
- Mix the product: Follow the manufacturer’s instructions for mixing the compound to the right consistency.
- Pour onto the floor: Starting at one corner, pour the mixture and spread it with a gauge rake or trowel.
- Allow it to settle: The self-leveling concrete will spread and flatten itself naturally.
- Smooth edges: Use a trowel to feather edges and ensure a seamless finish.
- Cure: Let it dry completely before walking on or applying sealers.
Self-leveling concrete is especially good for indoor floors where smoothness is critical for finishes like tile or epoxy coatings.
Method 3: Wet Sanding Your Concrete Surface
Wet sanding is a gentle, controlled way to smooth rough spots or remove minor surface blemishes on concrete. Unlike dry sanding, wet sanding reduces dust and helps achieve a finer finish.
Wet Sanding Steps:
- Clean and wet the surface: Spray water on the concrete to keep dust down.
- Choose the right grit: Start with coarse sandpaper (40-60 grit) and gradually move to finer grits (120-220 grit).
- Use a hand sander or sanding block: Sand the concrete surface in circular motions.
- Rinse and repeat: Frequently rinse the area to check progress and remove slurry.
- Dry the surface: Wipe off excess water and let the surface dry thoroughly.
Wet sanding is ideal for smaller areas, patches, or finishing touches to achieve smoothness.
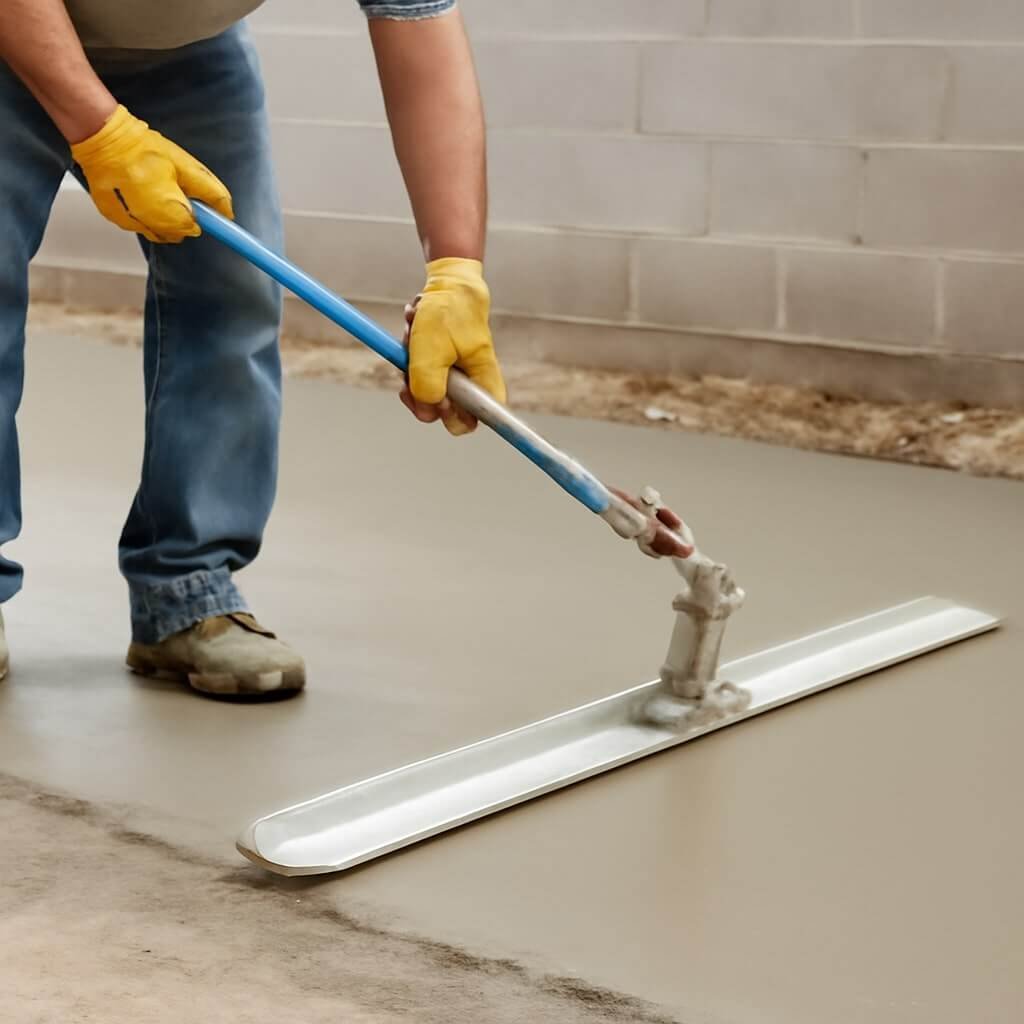
Method 4: Using a Power Trowel for Larger Surfaces
For larger concrete surfaces like floors or driveways, a power trowel is an efficient smoothing tool. This machine uses rotating blades to flatten and polish the concrete as it cures.
Benefits and Usage Tips:
- Saves time and effort: Covers large areas quickly.
- Creates a polished finish: Leaves a durable, smooth surface.
- Requires experience: Beginners should practice or get assistance.
- Operate after initial set: Use the power trowel once the concrete firms up but is still workable.
Renting a power trowel can be a cost-effective solution for big DIY projects, delivering a smooth and attractive concrete surface.
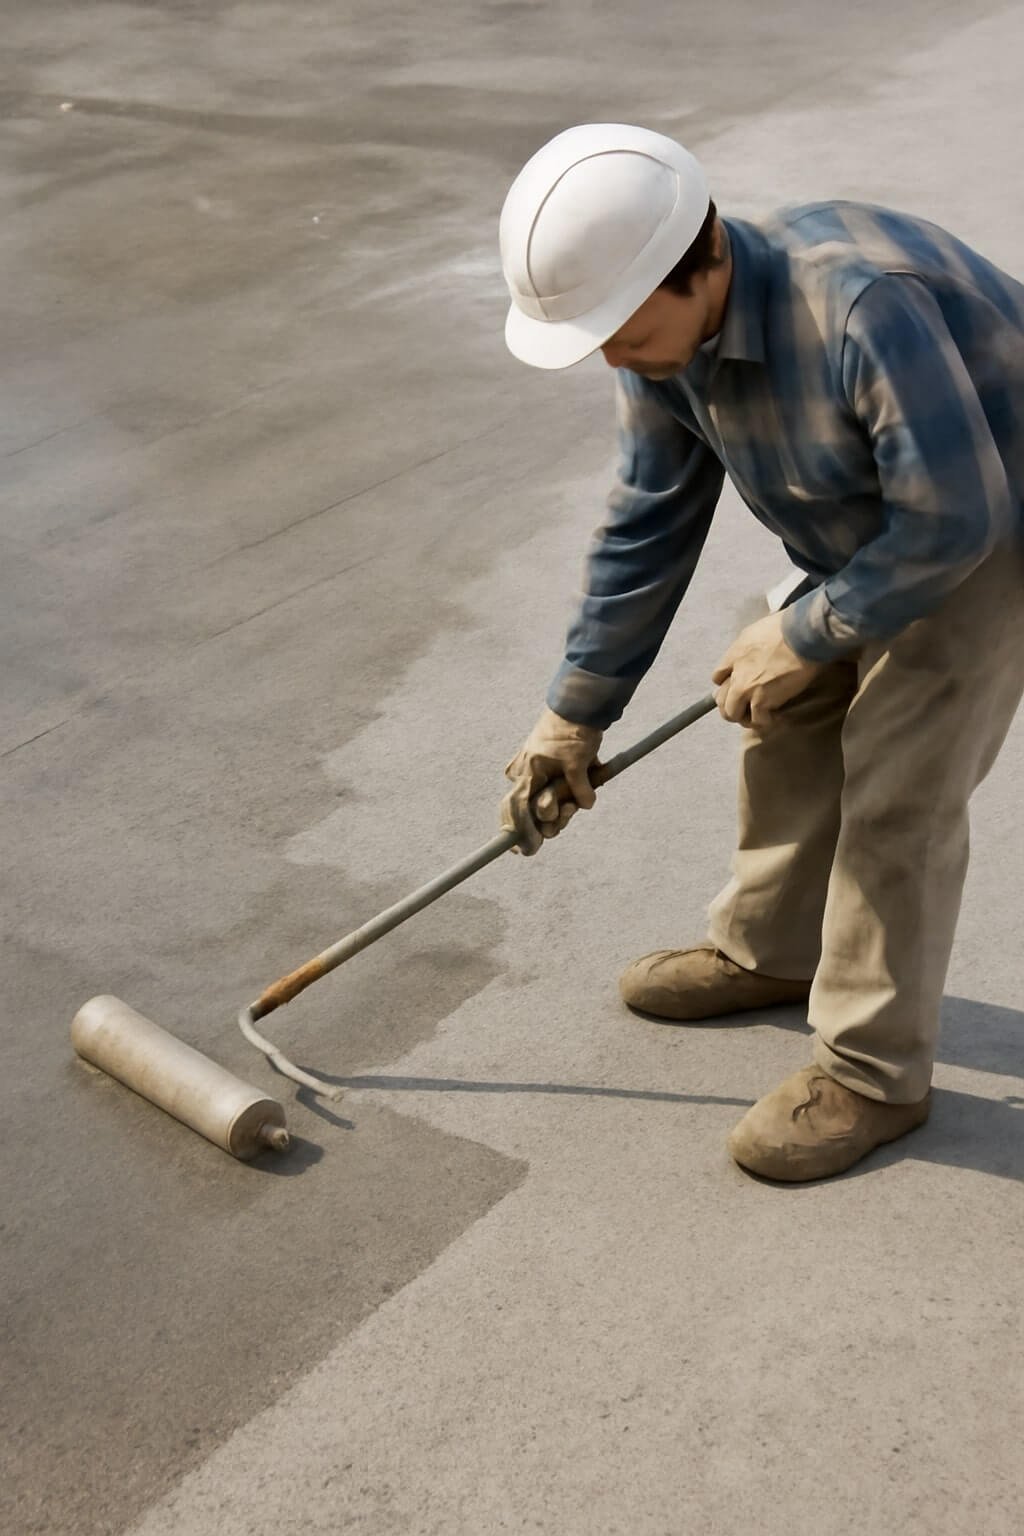
Method 5: Using Concrete Resurfacer for Quick and Easy Smoothing
Concrete resurfacer is a thin overlay material applied to worn or rough concrete surfaces to restore smoothness and improve appearance. It’s a user-friendly option that doesn’t require grinding or heavy equipment.
Applying Concrete Resurfacer:
- Clean thoroughly: Remove all loose debris and contaminants.
- Mix the resurfacer: Follow product instructions.
- Apply with a trowel: Spread a thin, even layer over the surface.
- Smooth out: Use a squeegee or trowel to feather edges.
- Let it cure: Drying times vary but usually take a few hours.
This method is perfect for minor resurfacing jobs, like patios, walkways, or steps.
DIY Tips for Achieving a Perfectly Smooth Concrete Surface
- Work in small sections: Tackling manageable areas ensures better control.
- Don’t rush: Allow materials to cure properly for lasting results.
- Use quality products: Invest in good tools and materials to avoid frustration.
- Keep tools clean: Clean equipment immediately after use to prolong its lifespan.
- Practice safety: Always wear protective gear and follow the manufacturer’s instructions.
Avoid common mistakes such as applying resurfacer too thickly or skipping surface prep, which can compromise results.
Maintenance Tips to Keep Your Concrete Surface Smooth
- Seal regularly: Apply concrete sealers every few years to protect the surface.
- Clean frequently: Remove dirt and debris with gentle sweeping or washing.
- Avoid harsh chemicals: Use mild cleaners to prevent surface damage.
- Repair promptly: Fix cracks or chips early to prevent spreading.
- Use mats: Place mats in high-traffic areas to reduce wear.
Proper maintenance extends the life and beauty of your smooth concrete surface.
Safety Precautions When Smoothing Concrete Surfaces
Smoothing concrete involves dust, noise, and sometimes harsh chemicals, so safety is a must:
- Wear eye protection to shield yourself from flying debris.
- Use a dust mask or respirator to avoid inhaling fine particles.
- Protect your ears from loud grinding or sanding sounds.
- Wear gloves to prevent skin irritation.
- Ensure good ventilation if working indoors.
- Follow equipment instructions carefully.
Taking these precautions helps you work efficiently and safely.
Frequently Asked Questions (FAQs)
1. Can I smooth concrete myself without professional tools?
Yes! For minor smoothing, hand sanding or using concrete resurfacer can work well without heavy machinery.
2. How long does it take to smooth a concrete surface?
It depends on the method and surface size. Grinding or power troweling large areas may take a few hours, while smaller repairs can be done in less time.
3. Is concrete smoothing expensive?
DIY smoothing can be budget-friendly, especially if you rent equipment. Material costs vary by method but generally remain affordable.
4. Can smoothing concrete improve safety?
Absolutely. Smoother surfaces reduce trip hazards and make cleaning easier, enhancing safety.
5. Should I seal my concrete after smoothing?
Yes. Sealing protects the surface from stains, moisture, and wear, helping it stay smooth longer.
6. What if my concrete has deep cracks or major damage?
Severe damage may require professional repair or replacement before smoothing.
Conclusion: Final Thoughts on Smoothing Concrete Surfaces at Home
Smoothing your concrete surface at home doesn’t have to be overwhelming or costly. By understanding the causes of roughness and selecting the right tools and methods, you can transform your concrete into a smooth, durable, and visually appealing surface. Whether you opt for grinding, resurfacing, or self-leveling concrete, the key is proper preparation, patience, and safety.


