Polished concrete surfaces are rapidly gaining popularity due to their sleek appearance, durability, and low maintenance needs. Whether you’re looking to upgrade your commercial space, residential flooring, or even outdoor patios, mastering the art of polished concrete can transform any environment. In this article, we will explore 20 proven tips to achieve a stunning polished concrete surface, packed with expert advice to help you every step of the way.
Understanding Polished Concrete
What Is Polished Concrete?
Polished concrete is a process where concrete is mechanically ground, honed, and polished with progressively finer abrasives to create a smooth, glossy finish. Unlike traditional concrete, polished concrete reveals the natural beauty of the aggregate and cement beneath the surface, providing an elegant and durable floor option.
The process enhances not only aesthetics but also the structural integrity of the floor. Polished concrete can be customized with stains, dyes, and coatings to match various design preferences, making it a versatile choice for many applications.
Advantages of Polished Concrete Surfaces
- Durability: Polished concrete is exceptionally strong and resistant to wear, making it ideal for high-traffic areas.
- Low Maintenance: Unlike carpets or hardwood floors, polished concrete requires minimal upkeep. Regular sweeping and occasional mopping are usually enough.
- Cost-Effectiveness: Long-term, polished concrete is economical due to its longevity and low maintenance.
- Eco-Friendly: Utilizing existing concrete slabs reduces the need for additional materials, and the reflective surface can improve lighting efficiency.
- Aesthetic Appeal: It offers a modern, sleek look that suits commercial and residential spaces alike.
Preparing Your Concrete Surface for Polishing
Cleaning and Repairing the Surface
Before polishing, it’s crucial to prepare the concrete properly. Start by thoroughly cleaning the surface to remove dirt, grease, and debris that could interfere with the polishing process. Use degreasers or concrete cleaners specifically designed for the job.
Next, inspect the surface for cracks, holes, or other imperfections. These should be repaired with suitable concrete fillers or patching compounds to ensure a uniform finish. Ignoring these repairs can lead to uneven polishing and a less durable surface.
Importance of Moisture Testing
Moisture content in the concrete slab can significantly affect the polishing process and the final result. High moisture levels can cause polishing equipment to malfunction or the densifier to fail to penetrate properly. Use a moisture meter to test the slab before starting, and if the moisture is too high, take necessary steps to dry or seal the concrete first.
Choosing the Right Equipment
Types of Polishing Machines
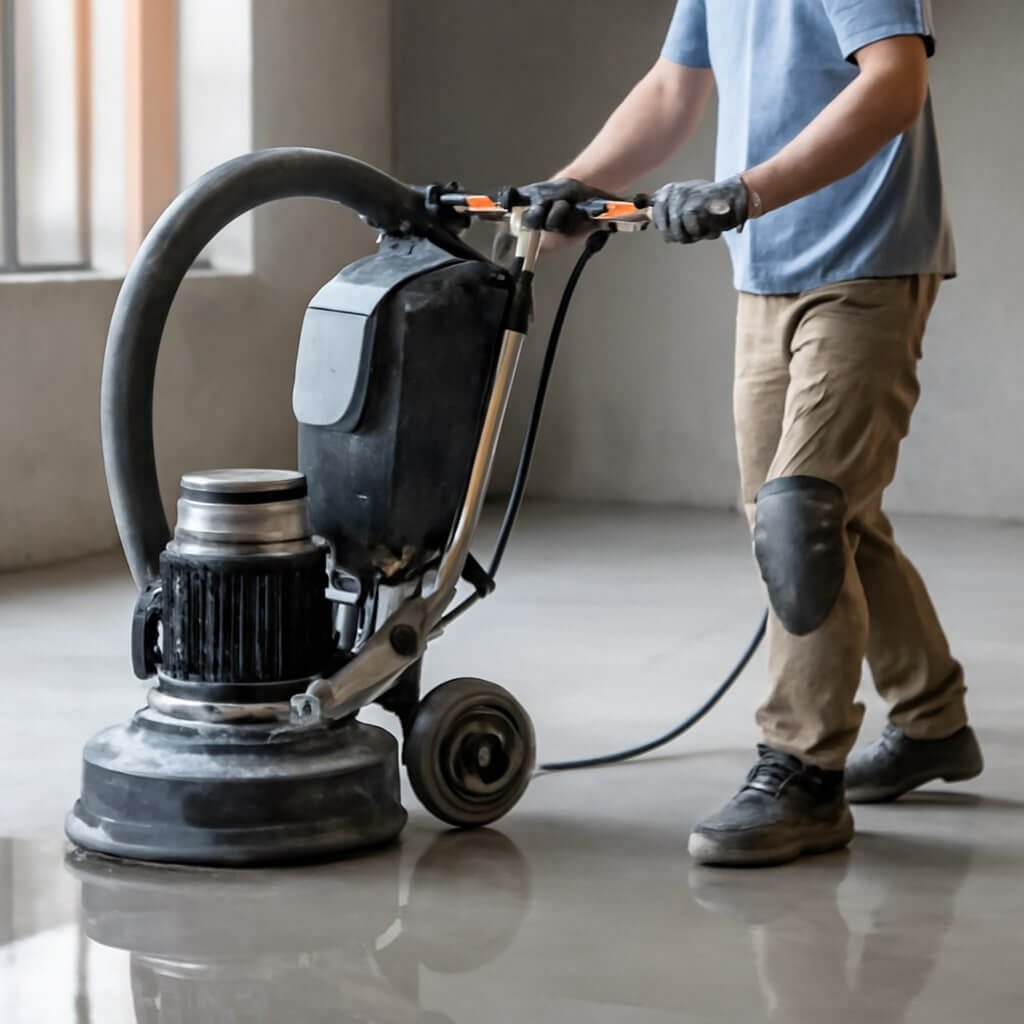
The choice of equipment directly impacts the quality of your polished concrete. Floor grinders with diamond-embedded abrasive pads are the primary tools used. There are different types:
- Walk-behind grinders: Best for small to medium projects and easier to maneuver.
- Ride-on grinders: Suitable for large areas, offering faster polishing.
- Edge grinders: Designed to reach corners and edges that the bigger machines can’t.
Selecting the Proper Abrasives
Abrasives come in various grit levels, ranging from coarse (30 grit) to ultra-fine (3000 grit). You begin with a coarse grit to remove surface imperfections, then progressively move to finer grits to hone and polish the surface.
Choosing the right sequence and quality of abrasives ensures a smooth and shiny finish without scratches or dull spots.
Step-by-Step Polishing Process
Grinding the Concrete Surface
The first step involves grinding the surface with coarse diamond abrasives to remove any coatings, stains, or rough spots. This phase exposes the aggregate and creates a level base for polishing. Multiple passes may be necessary to achieve uniformity.
Honing and Polishing
After grinding, continue with medium to fine grits (150 to 800 grit) to smooth the surface and prepare it for polishing. This process gradually refines the surface to remove scratches from the grinding phase.
Finally, ultra-fine abrasives (1500 to 3000 grit) are used to polish the concrete to a high gloss, revealing a mirror-like finish.
Applying Densifiers and Sealers
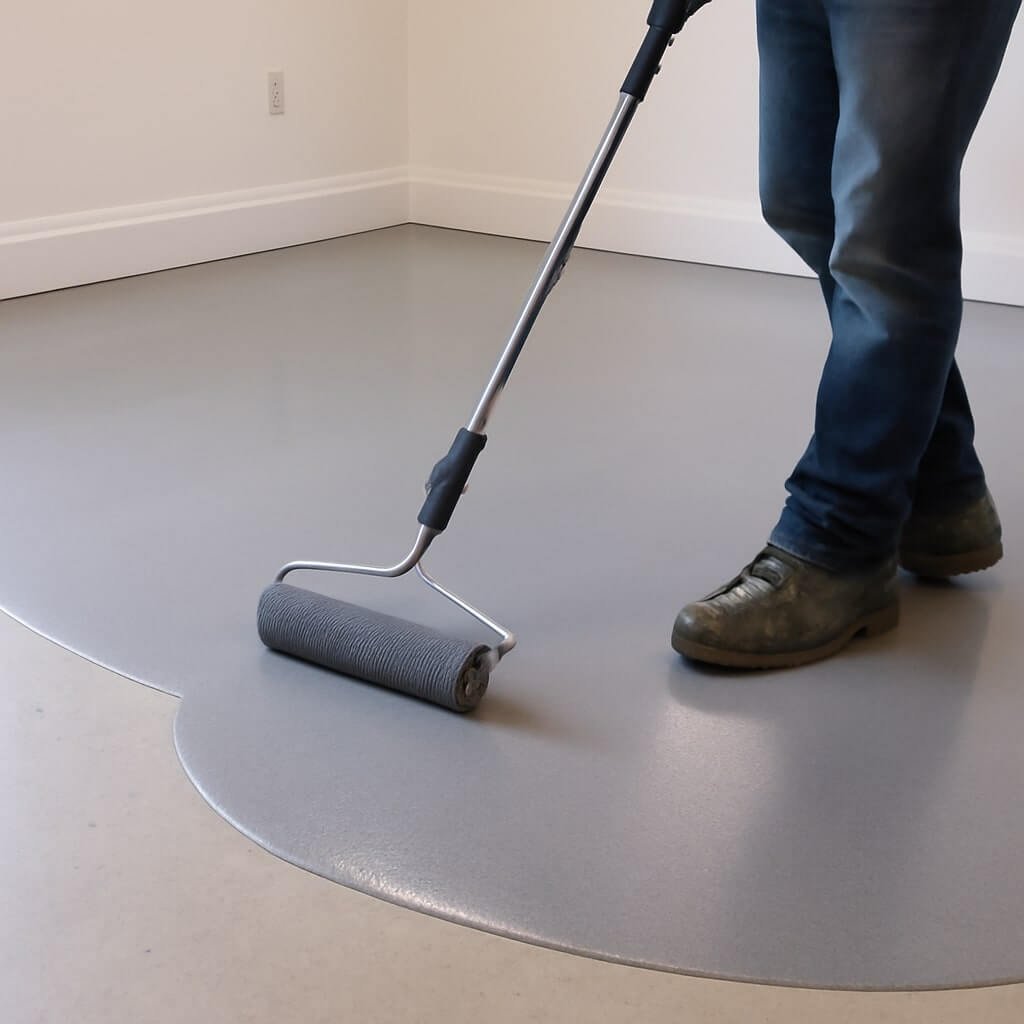
Once polished, applying a densifier helps harden the concrete surface by penetrating pores and making it more resistant to stains and abrasion. After densification, a sealer can be applied to enhance the shine and protect the surface further, especially in high-moisture or heavy-use environments.
Common Mistakes to Avoid When Polishing Concrete
- Skipping preparation steps, such as cleaning or repairing.
- Using the wrong grit sequence, causing uneven finishes.
- Ignoring moisture levels leads to poor densifier performance.
- Over-polishing or rushing the process results in surface damage.
- Neglecting proper maintenance after polishing.
Maintenance Tips for Polished Concrete Surfaces
Cleaning Guidelines
Use neutral pH cleaners specifically designed for polished concrete. Avoid harsh chemicals and acidic cleaners that can damage the surface.
Preventing Surface Damage
Place mats at entrances to reduce grit and dirt abrasion. Use furniture pads under heavy objects to prevent scratches, and promptly clean spills to avoid stains.
Cost Factors and Budgeting
The cost to polish concrete depends on slab condition, area size, and finish level. While initial investment can be moderate to high, the longevity and low maintenance make it cost-effective in the long run.
Environmental Considerations
Polished concrete is a sustainable flooring option as it often reuses existing slabs. The reflective surface also reduces the need for artificial lighting, lowering energy consumption.
Innovations in Polished Concrete Technology
New developments include eco-friendly densifiers, advanced grinding tools for faster polishing, and stain-resistant coatings that improve durability and aesthetics.
Frequently Asked Questions (FAQs)
How long does polished concrete last?
With proper maintenance, polished concrete can last 20 years or more, maintaining its beauty and durability.
Can I polish concrete myself?
While small DIY projects are possible, professional equipment and experience usually yield the best results, especially for larger areas.
Is polished concrete slippery when wet?
Polished concrete can be slippery when wet, but anti-slip treatments and textured finishes can minimize this risk.
What are the alternatives to polished concrete?
Options include epoxy coatings, stained concrete, or tile flooring, each with unique benefits.
How often should polished concrete be maintained?
Regular cleaning is needed weekly, with professional maintenance recommended every 1-3 years, depending on traffic.
Does polished concrete increase property value?
Yes, it adds aesthetic appeal and durability, which can boost property value.
Conclusion
Achieving a polished concrete surface requires attention to detail, proper equipment, and a clear understanding of the process. By following these 20 proven tips, you can create a stunning, durable floor that enhances any space with lasting beauty and function. Whether you’re a DIY enthusiast or a professional contractor, polished concrete offers versatility and sophistication that’s hard to beat.


