Basement waterproofing is essential to safeguard your home from the damaging effects of water intrusion. Whether you’re facing minor dampness or serious flooding, understanding the step-by-step basement waterproofing installation process can save you thousands in repairs and protect your property’s value. This guide covers everything from inspecting your basement for leaks to installing advanced waterproofing systems that keep your basement dry and your home safe.
By following this detailed process, you’ll learn not only how to stop water but also how to prevent future issues. So, if you want to take control of your basement’s moisture problems and enjoy a dry, healthy living space, keep reading. Waterproofing your basement isn’t just about adding a barrier; it’s about creating a comprehensive system that addresses every possible source of water.
Understanding Basement Water Problems
Before diving into waterproofing, it’s crucial to understand why basements get wet in the first place. Water can enter basements through cracks in the foundation, seepage from groundwater, poor drainage around your home, or even condensation due to high humidity.
Common causes include:
- Foundation cracks: Small or large cracks allow water to seep in.
- Hydrostatic pressure: Groundwater pushes against basement walls, forcing moisture through.
- Improper grading: Soil slopes toward the foundation instead of away from it.
- Clogged gutters/downspouts: Water pools near the foundation, increasing infiltration risk.
- Poor interior drainage: Without a drainage system, water accumulates and causes damage.
Recognizing these causes helps you target the right waterproofing methods and install an effective system.
Essential Tools and Materials Needed
To complete the basement waterproofing installation process efficiently, gather these essential tools and materials:
| Tools | Materials |
|---|---|
| Concrete grinder or wire brush | Hydraulic cement or epoxy sealant |
| Caulking gun | Waterproofing membrane |
| Utility knife | Drainage tiles |
| Shovel | Sump pump |
| Power drill | Gravel and landscape fabric |
| Measuring tape | Vapor barrier sheets |
| Level | Waterproof paint or coatings |
| Hammer and nails | Pipe fittings |
| Protective gear (gloves, goggles) | Silicone sealant |
Having everything on hand before starting saves time and ensures you can work safely and effectively.
Step 1: Inspecting the Basement
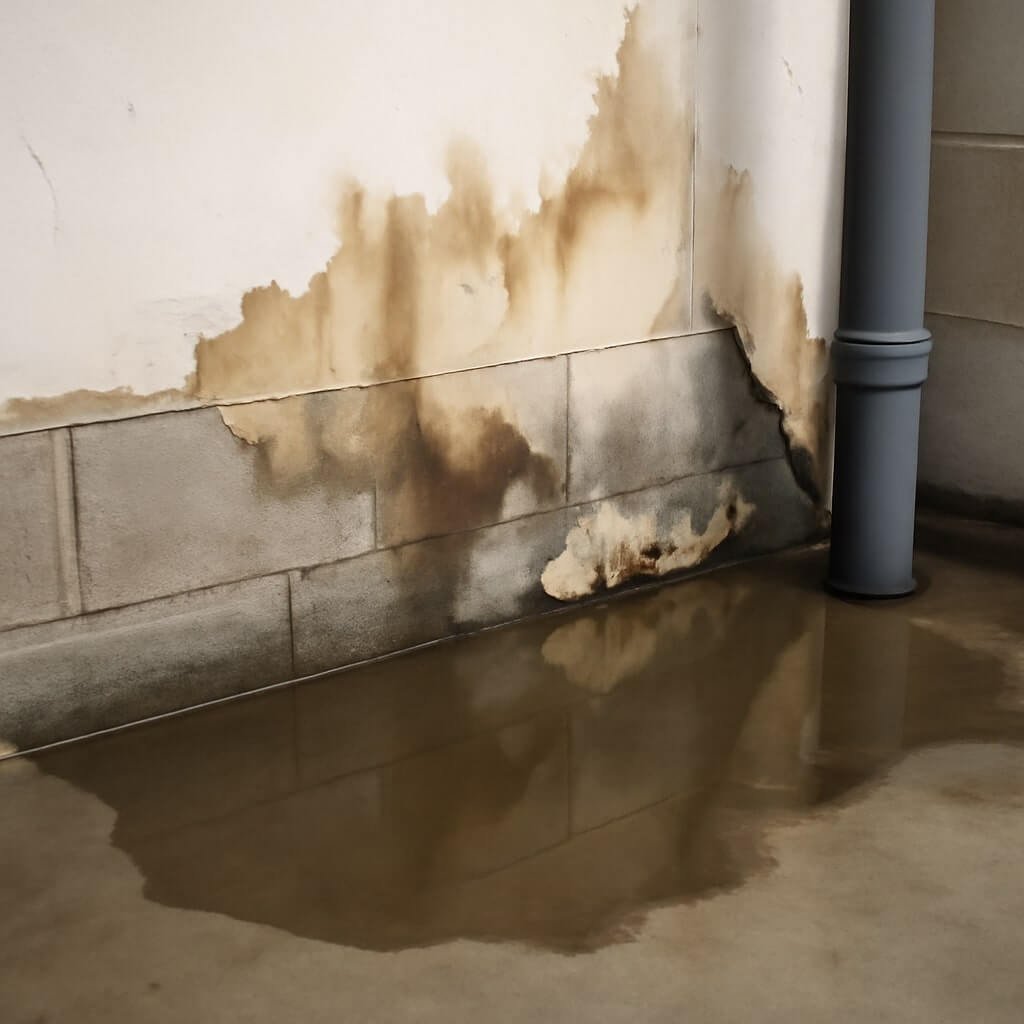
Begin by thoroughly inspecting your basement. Look for visible signs of moisture, such as damp spots, mold growth, efflorescence (white mineral deposits), and water stains. Use a flashlight to check corners, floor joints, and foundation walls. Pay close attention to cracks or gaps around windows, pipes, and the floor-wall junction.
Additionally, check the exterior grading and gutters to identify any areas where water may pool near your foundation. This inspection informs your waterproofing plan, allowing you to address every problem area methodically.
Step 2: Preparing the Area
Proper preparation is vital for a successful basement waterproofing installation. Clear the basement of furniture, debris, and any loose materials. Use a wire brush or concrete grinder to clean the foundation walls and floor where you’ll apply sealants or coatings. This ensures better adhesion.
Make sure the surface is dry before moving to the next step. If necessary, use a dehumidifier or fans to speed up drying. Also, protect yourself with gloves, goggles, and a mask during this process, especially when handling chemicals or sanding concrete.
Step 3: Fixing Cracks and Holes
Sealing cracks and holes is critical to stopping water from entering. Small cracks can be sealed using hydraulic cement or epoxy, which expands as it cures, filling gaps completely. For larger cracks, chisel out the crack to widen it slightly, clean it, and then apply the sealant.
Use a caulking gun to apply silicone sealant around pipe penetrations and window wells to prevent leaks. Properly sealing these areas prevents moisture from creeping through vulnerable points in your basement’s structure.
Step 4: Installing Interior Drainage Systems
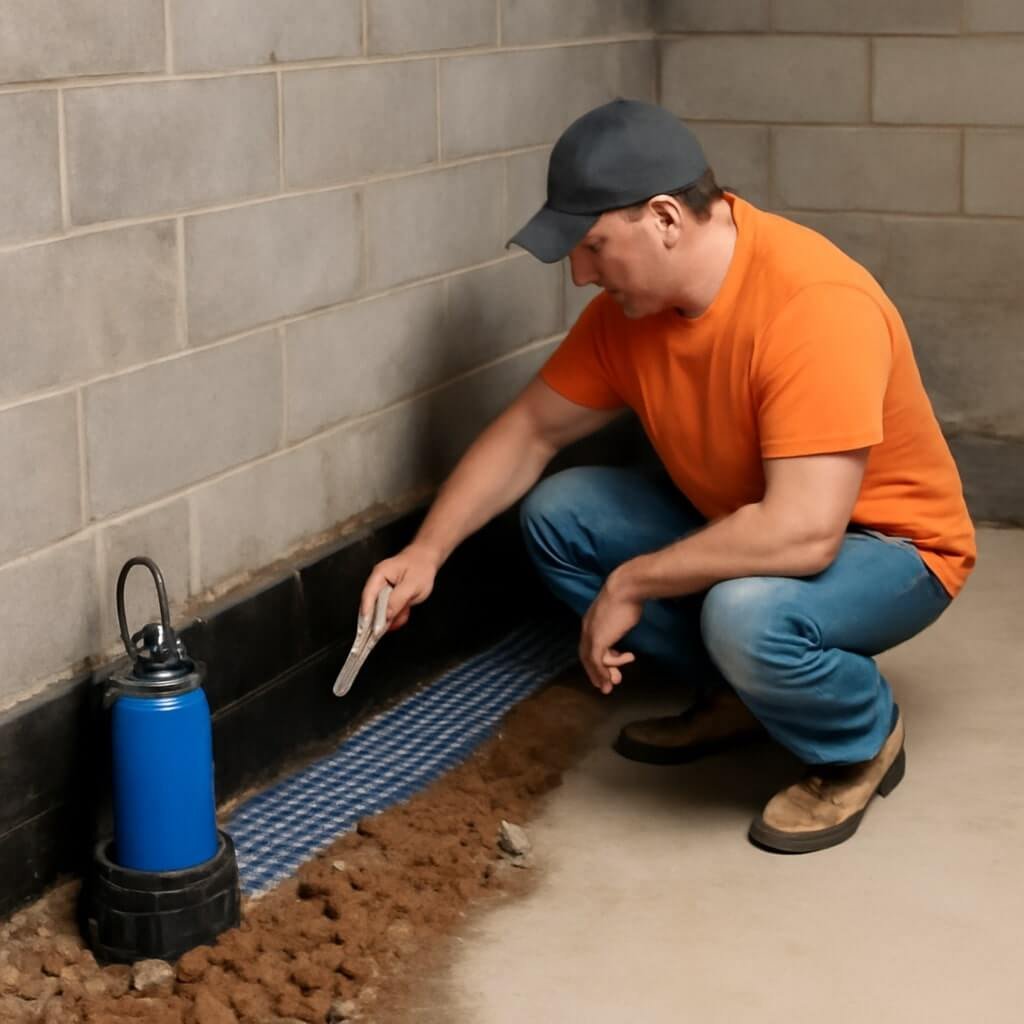
One of the most effective ways to control basement water is to install an interior drainage system. This typically involves placing drainage tiles or channels along the perimeter of your basement floor beneath a layer of gravel. These channels collect water that seeps in and direct it to a sump pump system.
Installing this system requires cutting into your basement floor, laying gravel, and installing perforated drainage pipes. While it can be labor-intensive, interior drainage effectively manages water infiltration and reduces hydrostatic pressure on foundation walls.
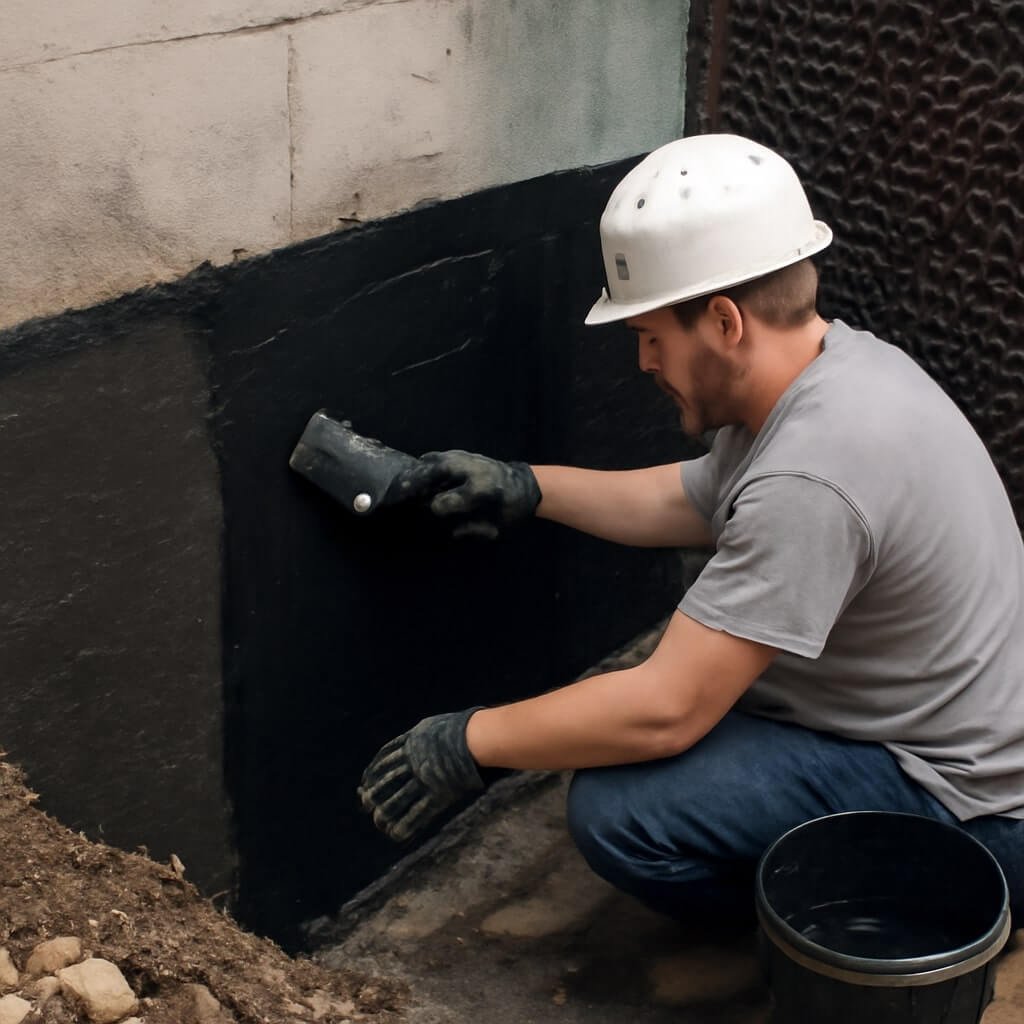
Step 5: Applying Waterproof Coatings
After repairs and drainage installation, applying waterproof coatings to walls and floors adds an essential layer of protection. There are various options, including cementitious coatings, liquid rubber membranes, and waterproof paints.
Apply coatings according to manufacturer’s instructions, usually with brushes or rollers. Ensure even coverage and allow adequate drying time. Waterproof coatings block moisture transmission, helping to keep your basement dry during wet seasons.
Step 6: Installing a Sump Pump
A sump pump is a crucial component of any basement waterproofing system, especially in areas prone to heavy groundwater. Installed in a sump pit, it pumps accumulated water away from your home’s foundation to a safe drainage location.
Choose a high-quality sump pump with a backup battery system to keep it operational during power outages. Proper installation involves connecting the pump to the drainage pipes and ensuring a clear discharge path away from the foundation.
Step 7: Exterior Waterproofing Options
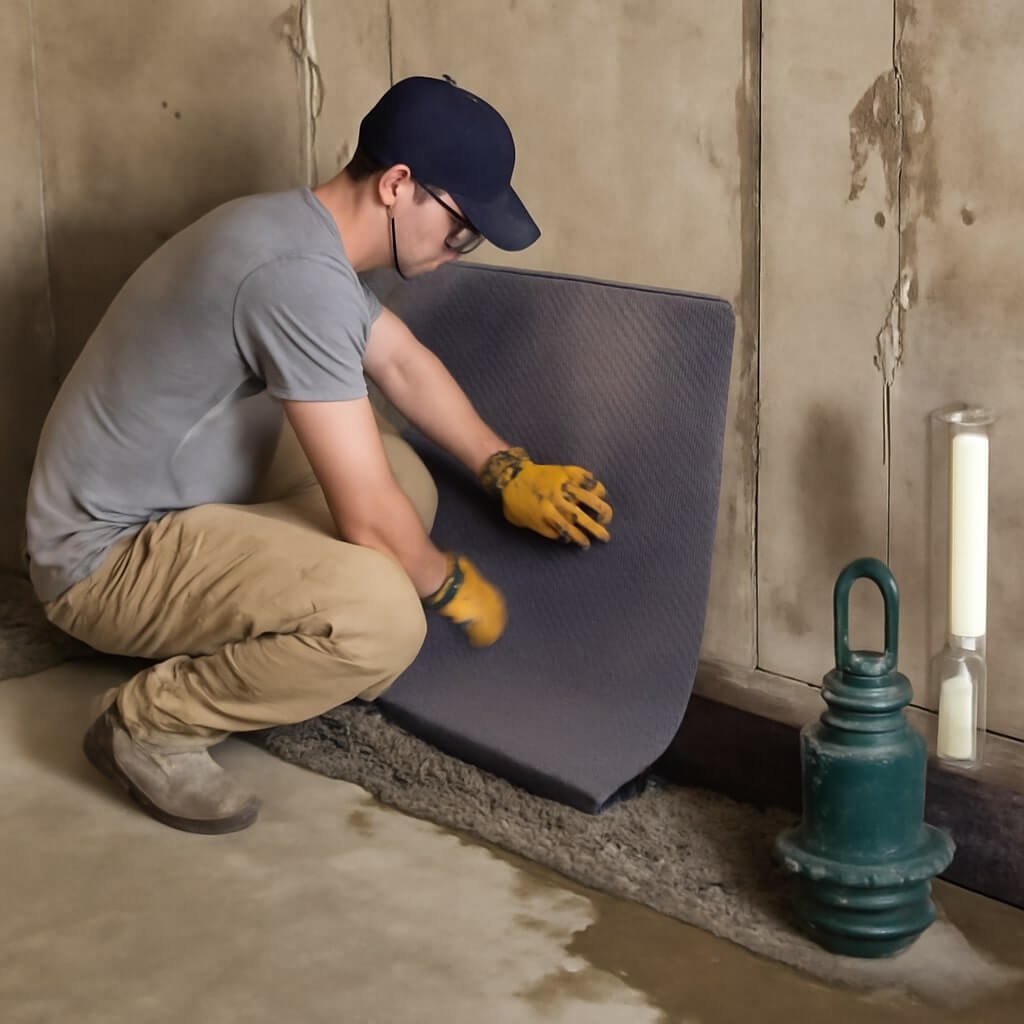
Exterior waterproofing complements interior solutions by preventing water from reaching the foundation walls. This process often involves excavating the soil around your foundation to apply waterproof membranes or coatings directly to the walls.
Exterior waterproofing also includes installing drainage boards or gravel layers that promote water flow away from the foundation. Though more expensive and labor-intensive, exterior waterproofing provides the most comprehensive protection.
Step 8: Managing Exterior Drainage
Proper exterior drainage is key to preventing basement water issues. Ensure gutters and downspouts are clean and direct water at least 6 feet away from the foundation. Adjust landscaping to slope soil away from your home, reducing water pooling near the basement walls.
Consider installing French drains or swales for additional water management. These features collect and divert water before it can impact your foundation.
Step 9: Installing Vapor Barriers
Vapor barriers prevent moisture from passing through basement walls and floors, reducing dampness and mold growth. These barriers typically consist of thick plastic sheets installed on walls or beneath flooring materials.
When combined with other waterproofing methods, vapor barriers provide an extra line of defense against moisture intrusion, improving indoor air quality and comfort.
Step 10: Final Inspection and Testing
Once all waterproofing steps are complete, conduct a final inspection. Check all seals, coatings, drainage systems, and sump pump operation. Perform a water test by spraying water around your foundation or during a rainstorm to verify no leaks occur.
Address any remaining weak points immediately to ensure your basement is fully protected.
Maintenance Tips to Keep Your Basement Dry
Waterproofing is not a one-time job; ongoing maintenance is crucial. Regularly inspect gutters, downspouts, and grading to prevent water buildup. Test your sump pump annually and clear debris from drainage systems.
Keep your basement ventilated to reduce humidity, and fix cracks or damage promptly. Staying proactive helps you maintain a dry basement year-round.
FAQs About Basement Waterproofing
1. How much does basement waterproofing cost?
Costs vary depending on methods and basement size, but typically range from $2,000 to $10,000.
2. Can I waterproof my basement myself?
Yes, minor repairs and coatings can be DIY, but complex drainage or exterior work may require professionals.
3. How long does basement waterproofing last?
Properly installed systems can last 10-25 years with routine maintenance.
4. Does waterproofing increase home value?
Yes, a dry basement improves property value and appeal to buyers.
5. What’s the difference between waterproofing and damp proofing?
Waterproofing blocks all water penetration; damp proofing only reduces moisture.
6. Can basement waterproofing prevent mold?
Yes, by keeping moisture out, it reduces mold risk significantly.
Conclusion: Protect Your Home With Effective Waterproofing
Taking the step-by-step approach to basement waterproofing ensures you cover every angle, from interior repairs to exterior drainage management. With careful inspection, quality materials, and diligent maintenance, you can protect your basement from water damage and create a safe, dry living environment.


