Basements are often the most vulnerable part of a home when it comes to water damage. Whether you’re dealing with a slight dampness or a serious leak, waterproofing your basement can protect your property, improve air quality, and increase the value of your home. This comprehensive guide on DIY basement waterproofing tips to keep your home dry will walk you through essential methods, tools, and expert advice, ensuring your basement stays dry year-round.
Understanding Basement Waterproofing
Waterproofing a basement isn’t just about stopping water from entering; it’s about creating a complete defense system around your home’s foundation. Moisture intrusion can lead to mold growth, structural damage, and poor indoor air quality, which can impact your family’s health.
Basement waterproofing involves various techniques, including exterior drainage improvements, sealing cracks, and installing interior systems like sump pumps and drainage channels. By understanding the problem thoroughly, you can better address the root causes and ensure lasting results.
Signs Your Basement Needs Waterproofing
Knowing when your basement needs waterproofing is the first step in preventing damage. Watch out for:
- Water stains or discoloration on walls and floors.
- Musty odors indicate mold or mildew growth.
- Damp spots, especially after rain.
- Cracks in foundation walls or floors.
- Peeling paint or efflorescence (white powdery substance on walls).
- Standing water or puddles inside the basement.
If you notice any of these signs, it’s time to take action and apply basement waterproofing techniques to keep your home dry.
Essential Tools and Materials for DIY Waterproofing
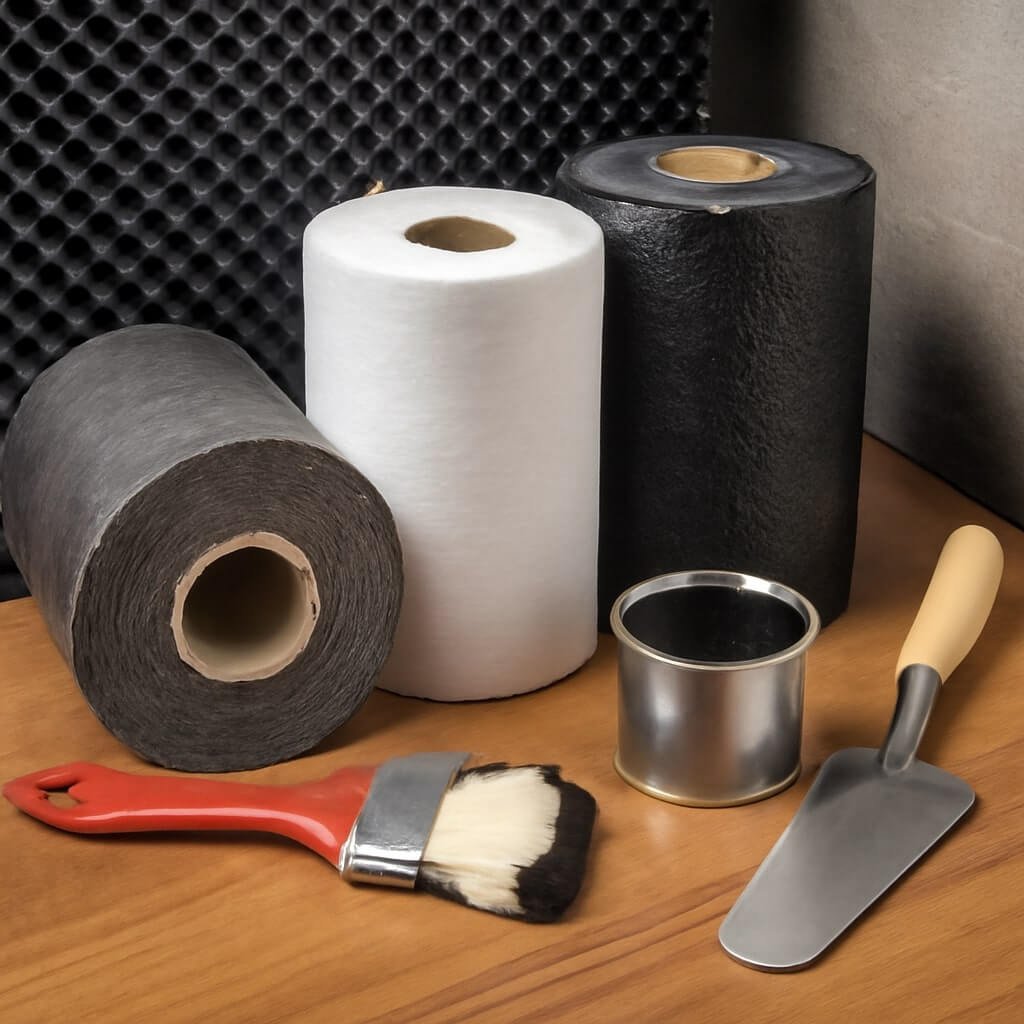
Before you start, gather these necessary tools and materials to ensure a smooth project:
| Tools | Materials |
|---|---|
| Shovel and spade | Waterproof sealant (liquid or epoxy) |
| Trowel | Exterior waterproof membranes |
| Concrete patch or mortar | Drainage pipes or French drains |
| Sump pump | Gravel and crushed stone |
| Power washer or hose | Interior drainage channels |
| Caulking gun | Dehumidifier |
| Safety gloves and goggles | Plastic sheeting or vapor barriers |
Having the right equipment and materials handy will help you work efficiently and safely.
Step-by-Step Guide to Exterior Basement Waterproofing
Exterior waterproofing is the most effective way to prevent water from entering your basement. Here’s a simplified approach:
Preparing the Exterior Walls
Start by digging around the foundation to expose the basement walls. Clean the walls using a power washer to remove dirt, debris, and loose paint. Inspect for cracks or holes and patch them with concrete mortar. A clean, smooth surface ensures better adhesion of waterproofing materials.
Installing Drainage Systems
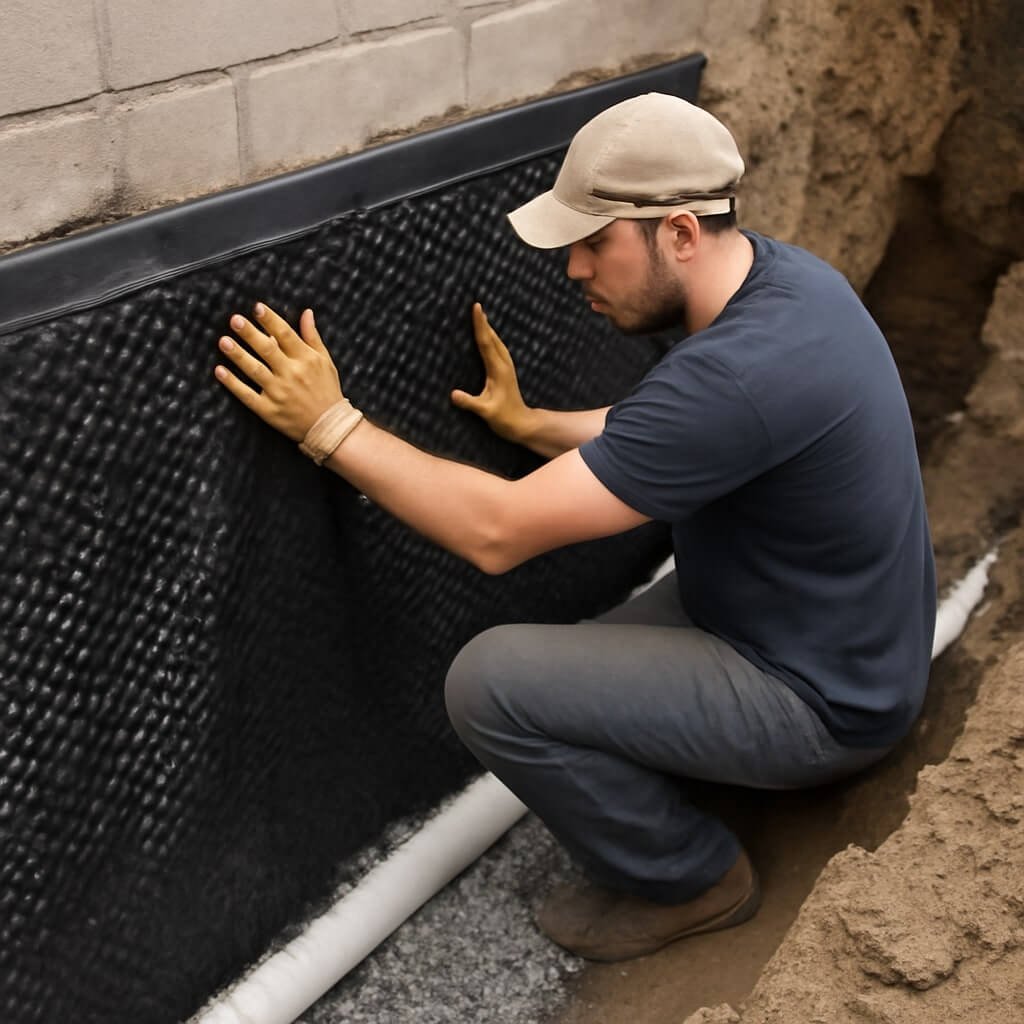
Proper drainage is crucial. Install a French drain around the foundation perimeter, which involves laying perforated pipes wrapped in fabric and surrounded by gravel. This system collects and diverts water away from the foundation.
Applying Waterproof Membranes
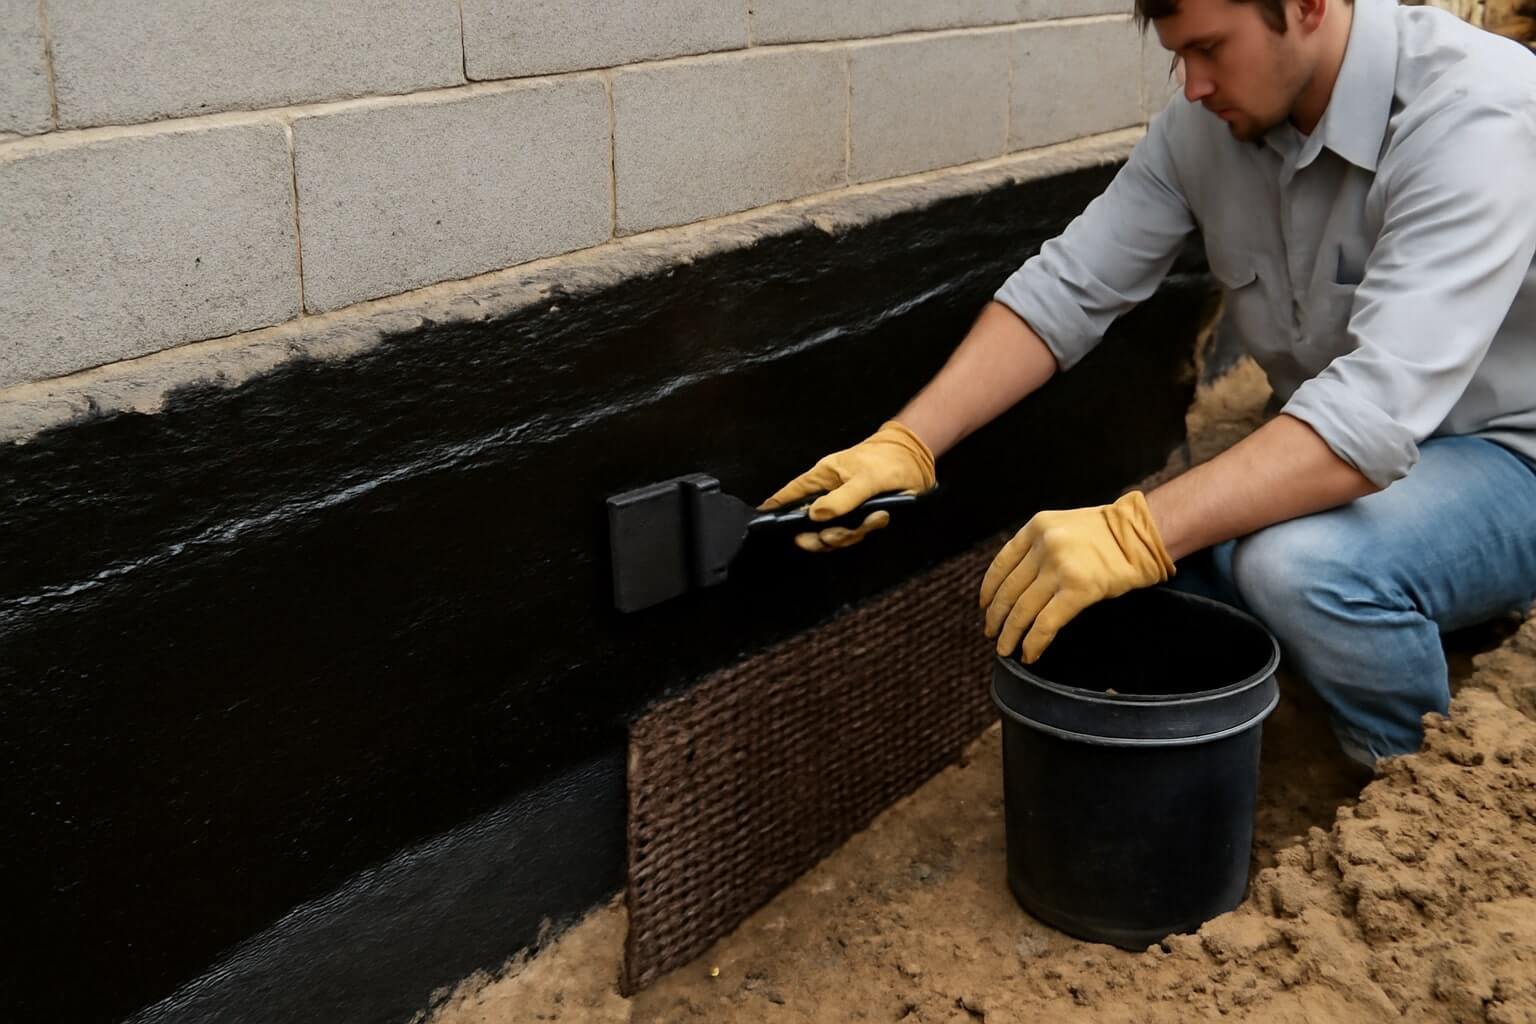
Once drainage is installed, apply a waterproof membrane on the cleaned exterior walls. These membranes act as barriers against moisture penetration and come in rolls or liquid forms. Be sure to overlap seams and cover the entire surface for maximum protection.
Interior Waterproofing Techniques
When exterior waterproofing isn’t feasible, interior methods can help manage water that seeps in.
Applying Waterproof Sealants
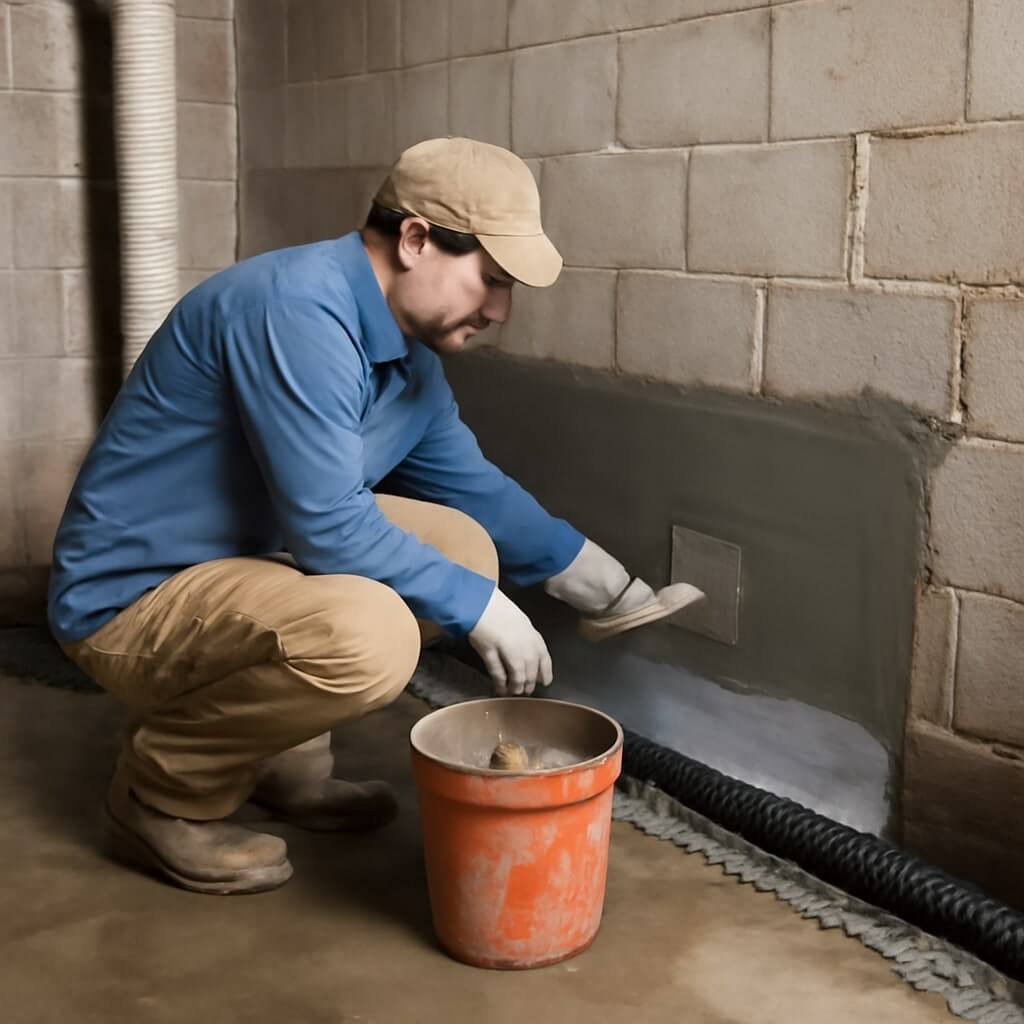
Interior sealants, like masonry waterproofing paint or epoxy, can be applied to walls and floors to create a moisture barrier. These are particularly useful for small leaks and dampness, but may not solve severe water problems.
Installing Interior Drainage Systems
Interior drainage channels can be installed along the basement perimeter beneath the floor slab. These channels guide water to a sump pump, which then removes it from the basement. This method is effective for managing seepage and groundwater pressure.
Maintaining Your Waterproofed Basement
Waterproofing is not a one-time fix; it requires ongoing care:
- Inspect gutters and downspouts regularly to ensure they divert water away from your home.
- Clean your sump pump and test it before the rainy season.
- Check for new cracks or signs of water intrusion.
- Use a dehumidifier to reduce basement humidity.
- Keep landscaping sloped away from your foundation.
Regular maintenance helps extend the life of your waterproofing efforts.
Common Mistakes to Avoid in DIY Basement Waterproofing
Avoid these pitfalls to ensure your basement stays dry:
- Ignoring proper grading around your home.
- Using the wrong type of sealant or waterproof membrane.
- Failing to address cracks before applying waterproofing.
- Installing drainage systems improperly.
- Neglecting sump pump maintenance.
Avoiding these mistakes saves time, money, and frustration.
Cost-Effective Tips for Basement Waterproofing
You don’t have to break the bank to waterproof your basement. Consider:
- Using high-quality sealants rather than expensive membranes.
- Installing simple French drains instead of full excavation.
- Repairing cracks promptly to avoid bigger problems.
- DIY installation of sump pumps with proper guidance.
- Utilizing dehumidifiers for humidity control.
These cost-effective measures can provide solid protection without overspending.
When to Call a Professional for Basement Waterproofing
Some problems require expert intervention. Contact a professional if:
- You notice significant structural cracks.
- Water intrusion is heavy or persistent.
- The basement flooding is recurring.
- You need extensive excavation or drainage installation.
- DIY attempts have failed or worsened the issue.
A pro can assess complex problems and provide reliable, long-lasting solutions.
Environmental Benefits of Basement Waterproofing
Waterproofing does more than protect your home; it benefits the environment by:
- Preventing mold growth improves indoor air quality.
- Reducing energy costs by preventing heat loss through damp walls.
- Lowering your carbon footprint by maintaining structural integrity and avoiding costly repairs.
Investing in waterproofing is a smart choice for your home and the planet.
FAQs on Basement Waterproofing
1. How often should I waterproof my basement?
Waterproofing systems typically last 10-20 years, but inspect annually and address any new leaks immediately.
2. Can I waterproof a basement myself?
Yes, many DIY methods are effective, but complex issues may require professionals.
3. What is the best time of year to waterproof?
Spring or fall, when the weather is dry and mild, is ideal for exterior work.
4. Will waterproofing increase my home’s value?
Yes, it adds value by protecting your foundation and improving living conditions.
5. Can waterproofing prevent mold?
While it helps prevent moisture, combining it with good ventilation and dehumidifiers is key.
6. How much does basement waterproofing cost?
Costs vary widely, from a few hundred dollars for sealants to several thousand for full drainage systems.
Conclusion: Keeping Your Home Safe and Dry
DIY basement waterproofing is a smart, proactive way to protect your home from costly water damage and mold growth. By understanding the process, preparing adequately, and avoiding common mistakes, you can keep your basement—and your home—dry and comfortable. Whether you choose to tackle the job yourself or call in a professional, these tips will help you safeguard your investment and enjoy peace of mind year-round.


