Driveways are more than just pathways for vehicles; they’re an important part of your home’s curb appeal and overall structural integrity. When cracks start appearing, it’s crucial to address them promptly to avoid further damage. This step-by-step guide to driveway crack repair will walk you through powerful, effective methods to restore your driveway, saving you time and money.
Understanding Driveway Cracks
Before diving into repairs, it’s important to understand what causes driveway cracks and the different types you might encounter. Knowing this helps you choose the right repair approach and prevents future issues.
Common Causes of Driveway Cracks
Driveway cracks can form due to a variety of reasons, including:
- Weather Conditions: Extreme temperature changes cause expansion and contraction, leading to cracks.
- Heavy Loads: Constant pressure from vehicles, especially heavy trucks, stresses the driveway surface.
- Poor Installation: Improperly mixed concrete or inadequate base preparation can lead to premature cracking.
- Soil Movement: Shifting soil or erosion beneath your driveway can cause it to crack and settle unevenly.
Types of Driveway Cracks
Identifying crack types will help in applying the correct repair method:
- Hairline Cracks: Thin cracks are often caused by shrinkage during drying.
- Shrinkage Cracks: Typically wider and caused as the concrete loses moisture.
- Structural Cracks: Larger, more serious cracks that indicate foundational problems.
- Settlement Cracks: Caused by the ground beneath settling or shifting.
Tools and Materials Needed for Driveway Crack Repair
Having the right tools and materials is half the battle. Here’s a rundown of what you’ll need:
Essential Tools
- Crack Filler or Epoxy: Choose depending on crack size and type.
- Trowel or Putty Knife: For applying filler smoothly.
- Wire Brush: To clean out dirt and debris.
- Pressure Washer or Hose: To thoroughly clean the repair area.
- Caulk Gun: If using sealants that require application through a cartridge.
- Safety Gear: Gloves, eye protection, and a dust mask.
Choosing the Right Materials
Selecting appropriate filler material matters:
- Epoxy-Based Fillers: Great for structural cracks, very durable.
- Polyurethane Sealants: Flexible and ideal for hairline and shrinkage cracks.
- Concrete Patch Compounds: For larger holes and structural repairs.
- Asphalt-Based Fillers: Used for asphalt driveways rather than concrete.
Preparing Your Driveway for Crack Repair
Proper preparation ensures the repair lasts longer and bonds well.
Cleaning the Crack
Start by removing dirt, weeds, loose debris, and old filler. Use a wire brush or pressure washer to get the crack spotless.
Drying and Inspecting
Make sure the area is completely dry before applying any filler. Inspect the cracks carefully — measure their width and depth to decide the right repair method.
Step-by-Step Crack Repair Process
Here’s a detailed guide for repairing various crack types.
Filling Small Hairline Cracks
- Clean and dry the crack.
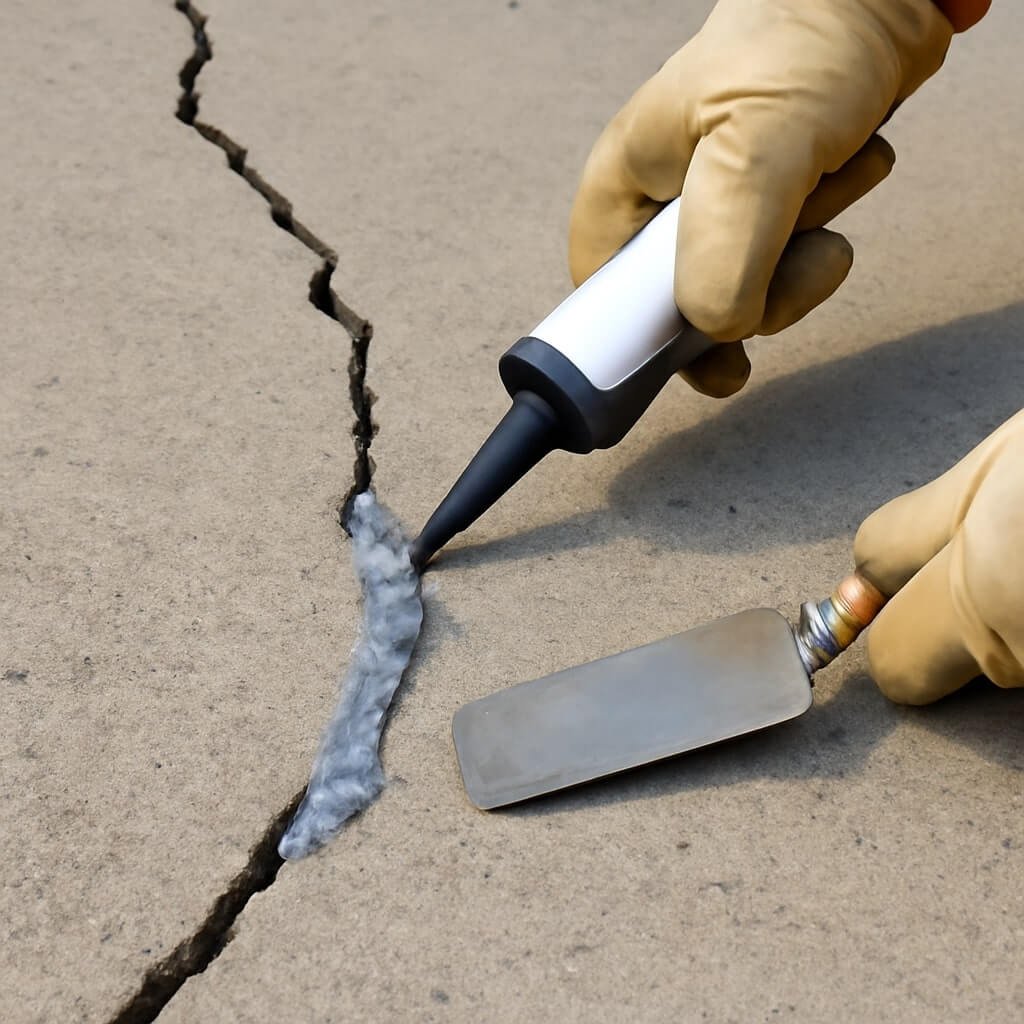
- Apply polyurethane sealant or caulk with a caulk gun.
- Smooth the surface with a putty knife.
- Let it cure as per the manufacturer’s instructions.
Repairing Larger Structural Cracks
- Remove loose concrete and clean the area.
- Apply epoxy or concrete patch filler with a trowel.
- For deep cracks, fill in layers, allowing each to dry before the next.
- Smooth the surface and allow it to cure fully.
Applying Sealant and Finishing Touches
Once repairs are dry:
- Apply a driveway sealant over the entire surface.
- This protects against moisture and UV damage.
- Sealcoating should be done every 2-3 years for best results.
Maintenance Tips to Prevent Future Driveway Cracks
Maintaining your driveway after repair is key to longevity.
Regular Cleaning
Sweep debris regularly and wash off stains or chemicals that can degrade the surface.
Sealcoating Your Driveway
Sealcoating acts as a protective barrier against water, oil spills, and sun damage. It helps preserve your driveway’s strength and appearance.
When to Call a Professional
Some cracks require more than a DIY fix.
Large or Deep Cracks
If cracks are wider than 1/4 inch or show signs of shifting, professional help is advisable.
Structural Foundation Issues
Cracks accompanied by sinking or uneven surfaces could indicate foundation problems, demanding expert assessment.
Cost Estimates for Driveway Crack Repair
Knowing costs upfront helps plan your budget.
DIY vs Professional Costs
- DIY Repair: Materials cost around $20 to $100, depending on the crack size.
- Professional Repair: Can range from $300 to $1,000 or more based on extent and location.
Environmental Considerations
Use eco-friendly materials whenever possible. Dispose of old fillers and debris according to local regulations to minimize environmental impact.
Frequently Asked Questions (FAQs)
How often should I inspect my driveway for cracks?
Ideally, inspect your driveway at least twice a year, especially after harsh weather.
Can I repair driveway cracks in winter?
It’s best to repair when temperatures are above 50°F to ensure materials cure properly.
Are driveway crack fillers waterproof?
Most modern fillers and sealants are designed to be waterproof and weather-resistant.
What if cracks keep coming back after repair?
Persistent cracks may indicate foundation or soil issues requiring professional evaluation.
Can I use regular concrete to fill driveway cracks?
Regular concrete isn’t flexible enough for cracks; use specialized fillers for better results.
How long does driveway crack repair last?
Properly done repairs combined with maintenance can last several years.
Conclusion
Repairing driveway cracks promptly and correctly is crucial to maintaining the beauty and functionality of your property. With the right tools, materials, and techniques, you can tackle small cracks yourself and know when it’s time to call in the pros. Regular maintenance, such as cleaning and sealcoating, helps keep your driveway strong and looking great for years to come.


