Driveways take a lot of wear and tear, especially when exposed to the elements year-round. Cracks in your driveway aren’t just unsightly—they can lead to further damage, safety hazards, and costly repairs if ignored. This Step-by-Step Guide to Driveway Crack Repair will walk you through everything from understanding why cracks form to selecting the right materials and maintaining your driveway for years to come.
Whether you’re a homeowner aiming to save money with DIY fixes or someone weighing the pros and cons of hiring a professional, this guide has you covered. Let’s dive in!
Understanding Driveway Cracks
Before diving into repairs, it’s essential to understand the types and causes of driveway cracks. This knowledge helps in selecting the right repair methods and preventing future damage.
Common Causes of Driveway Cracks
Driveway cracks develop from a variety of reasons, including:
- Weather Extremes: Freezing and thawing cycles cause the ground to expand and contract, exerting pressure on the driveway surface.
- Ground Movement: Soil settling or shifting can cause uneven stress.
- Heavy Loads: Frequent parking of heavy vehicles can strain the driveway beyond its capacity.
- Poor Installation: Insufficient base preparation or substandard materials may lead to premature cracking.
- Water Damage: Water infiltrating beneath the surface can erode the base, weakening the structure.
Understanding these causes allows homeowners to target repairs more effectively and take preventive measures.
Types of Driveway Cracks
Not all cracks are created equal. Knowing the type of crack helps decide if a simple repair will suffice or if a more extensive approach is necessary.
- Hairline Cracks: Thin, superficial cracks that usually don’t affect the driveway’s integrity.
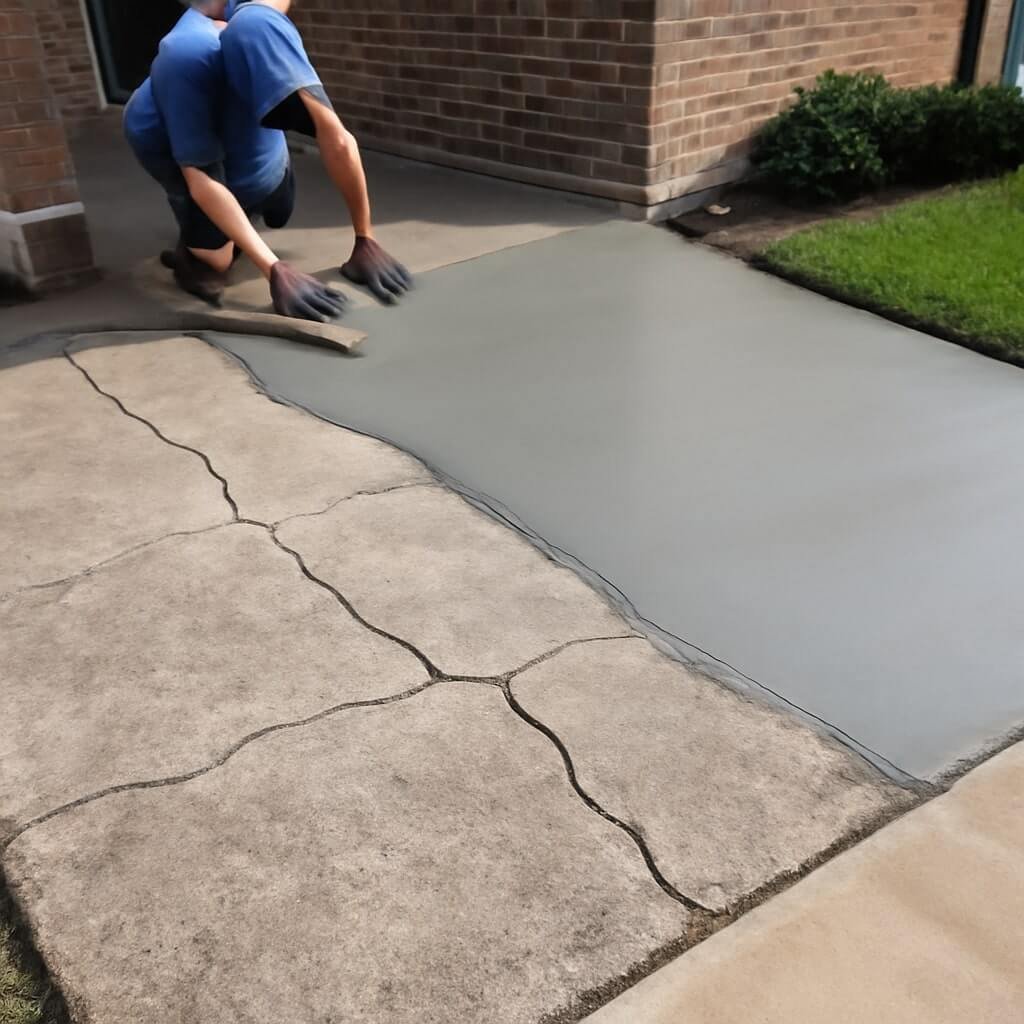
- Alligator Cracks: Interconnected cracks resembling an alligator’s skin, indicating base failure.
- Structural Cracks: Large, deep cracks caused by significant underlying problems, often needing professional intervention.
Why Repairing Driveway Cracks is Important
Ignoring driveway cracks can lead to escalating damage and increased costs. Here’s why repairing them promptly is critical:
- Safety: Cracks can cause tripping hazards or worsen, leading to potholes.
- Aesthetic Appeal: A well-maintained driveway boosts your home’s curb appeal.
- Prevent Further Damage: Repairing cracks prevents water infiltration, which can erode the base and lead to bigger problems.
- Cost Efficiency: Early repairs are more affordable compared to full driveway replacement.
Essential Tools and Materials Needed for Repair
Having the right tools on hand makes the repair process smoother and more effective. Here’s a list to get you started:
| Tool/Material | Purpose |
|---|---|
| Wire brush | Cleaning debris from cracks |
| Air compressor or leaf blower | Removing dust and loose particles |
| Cold chisel and hammer | Widening cracks for better filler adhesion |
| Crack filler (asphalt or concrete) | Filling cracks |
| Putty knife or trowel | Applying and smoothing filler |
| Sealant or driveway sealer | Protecting the surface post-repair |
| Safety gear (gloves, goggles) | Personal protection |
Step 1: Cleaning the Cracks
Proper cleaning is the first and arguably the most important step in repair. Dirt, debris, and loose material must be removed to ensure filler adheres properly.
- Use a wire brush to scrub inside the crack.
- Blow out dust with an air compressor or leaf blower.
- If necessary, wash with water and allow it to dry completely.
Step 2: Preparing the Crack for Filling
Many people skip this step, but it’s essential for a durable repair.
- Use a cold chisel and hammer to widen the crack slightly and remove any loose edges.
- Create a clean, V-shaped groove to hold the filler better.
- Remove any leftover debris after chiseling.
Step 3: Choosing the Right Repair Material
Selecting the correct filler depends on your driveway material and crack size.
- For Asphalt Driveways: Use asphalt patch filler or cold asphalt mix.
- For Concrete Driveways: Use a concrete crack filler or epoxy-based compound.
- For Hairline Cracks: Latex or acrylic-based fillers often suffice.
- For Large or Deep Cracks: Consider polymer-modified fillers for added flexibility and strength.
Step 4: Applying Crack Filler
Application technique influences the durability of the repair.
- Follow the manufacturer’s instructions carefully.
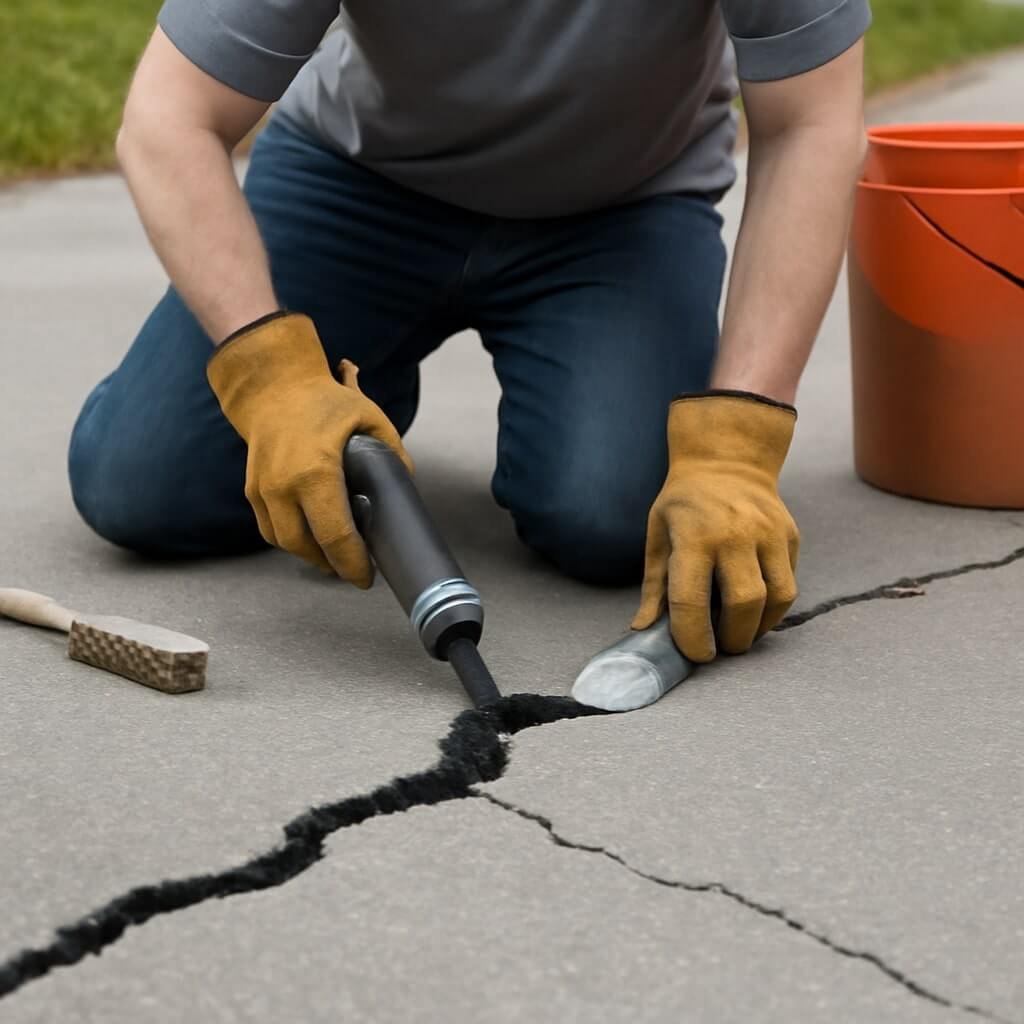
- Use a putty knife or trowel to press filler into the crack fully.
- Overfill slightly to compensate for shrinkage.
- Smooth the surface to match the surrounding pavement.
Step 5: Smoothing and Finishing
To ensure a seamless look and prevent debris accumulation:
- Smooth the repair area using the putty knife.
- Feather the edges to blend with the driveway surface.
- Allow filler to cure fully as per instructions—usually 24-48 hours.
Step 6: Sealing the Entire Driveway
Sealing offers an extra layer of protection and extends your repair’s lifespan.
- Choose a sealant appropriate for your driveway material.
- Apply evenly across the entire driveway surface.
- Sealant protects against UV rays, water infiltration, and chemical damage.
Maintenance Tips to Prevent Future Cracks
Once repairs are complete, regular maintenance keeps your driveway healthy.
- Inspect for new cracks at least twice a year.
- Clean debris and stains promptly.
- Avoid parking heavy vehicles in the same spot continuously.
- Re-seal the driveway every 2-3 years.
When to Call a Professional for Driveway Repair
Some situations demand expert help:
- Cracks wider than 1/2 inch or deeper than 2 inches.
- Extensive alligator cracking or spalling.
- Visible sinking or heaving sections.
- Persistent water pooling on the driveway.
Professionals can assess structural issues and recommend resurfacing or replacement if needed.
Cost Estimates for DIY vs. Professional Repair
| Repair Type | Estimated Cost (DIY) | Estimated Cost (Professional) |
|---|---|---|
| Small crack filling | $20 – $100 | $150 – $500 |
| Large crack filling | $100 – $300 | $500 – $1,200 |
| Driveway sealing | $50 – $150 | $300 – $700 |
| Full driveway resurfacing | N/A | $1,500 – $3,500 |
DIY repairs save money but require time and effort. Professional services ensure quality but come at a higher price.
Frequently Asked Questions (FAQs)
Can I repair driveway cracks myself?
Absolutely! Small and medium-sized cracks are DIY-friendly, especially with the right tools and materials. However, ensure you follow the preparation and application steps carefully for the best results.
How often should I inspect my driveway?
Inspect your driveway at least twice a year—preferably in spring and fall—to catch cracks early and prevent worsening damage.
What materials last the longest for crack repair?
Polymer-modified fillers and epoxy-based compounds offer superior durability and flexibility, making them ideal for areas with temperature fluctuations.
Is driveway sealing necessary after repair?
Yes. Sealing helps protect the repair from water, UV damage, and wear, significantly extending the driveway’s lifespan.
How do weather conditions affect repairs?
Extreme cold or wet conditions can compromise adhesion and curing times. Aim to repair when temperatures are moderate and the surface is dry.
Can I prevent cracks altogether?
While it’s impossible to prevent all cracks, regular maintenance, proper drainage, and sealing can significantly reduce the chances of cracks forming.
Conclusion and Final Thoughts
Repairing driveway cracks isn’t just about aesthetics; it’s a practical step to ensure safety and extend the life of your pavement. By understanding the causes, selecting the right materials, and following a thorough repair process, you can confidently tackle cracks yourself or know when to call in a pro. Remember, consistent maintenance is key to keeping your driveway in top shape for years.


