Basements are essential parts of many homes, providing valuable extra space for storage, recreation, or even living areas. However, basement floors often face moisture problems that can lead to mold growth, structural damage, and unpleasant odors. Knowing how to waterproof your basement floor like a pro ensures your home remains safe, dry, and comfortable year-round.
In this guide, we’ll dive into everything you need to know — from identifying the causes of water damage, selecting the best waterproofing methods, to maintenance tips that keep your basement dry for years. Ready to protect your home and boost its value? Let’s get started!
Understanding Basement Waterproofing
Waterproofing your basement floor means applying materials and techniques to prevent water infiltration. Since basements lie below ground level, they’re naturally vulnerable to water seeping in through cracks, pores in concrete, or high groundwater levels. Without proper waterproofing, moisture can cause serious problems, including:
- Structural weakening from constant dampness
- Mold and mildew growth, which harms health
- Damage to stored items and flooring materials
- Unpleasant musty odors
By waterproofing, you create a barrier that blocks water, ensuring your basement stays dry and your home safe.
Common Causes of Basement Floor Water Damage
Before waterproofing, it’s crucial to understand what causes water problems in basements:
- Hydrostatic pressure: Water pressure from saturated soil pushes moisture through cracks or porous concrete.
- Cracks and gaps: Small cracks in the floor or walls allow water to seep inside.
- Poor drainage: Inefficient gutters or downspouts cause water to pool around the foundation.
- High humidity: Moist air condenses on cool basement surfaces, causing dampness.
- Plumbing leaks: Faulty pipes or appliances can leak water into the basement floor.
Preparing Your Basement Floor for Waterproofing
Preparation is key to successful waterproofing. Properly prepping the surface ensures materials adhere well and perform optimally.
Inspecting for Cracks and Damage
Start by thoroughly inspecting your basement floor. Look for visible cracks, holes, or signs of damage such as flaking concrete. Mark any areas that need patching before waterproofing.
Cleaning and Drying the Basement Floor
A clean, dry surface is essential. Remove all dirt, dust, oil, or loose materials by sweeping and scrubbing. Use a dehumidifier or fans to ensure the floor is completely dry before proceeding.
Choosing the Right Waterproofing Method
Several effective methods exist to waterproof basement floors. Your choice depends on budget, severity of moisture issues, and your DIY comfort level.
Liquid Waterproofing Membranes
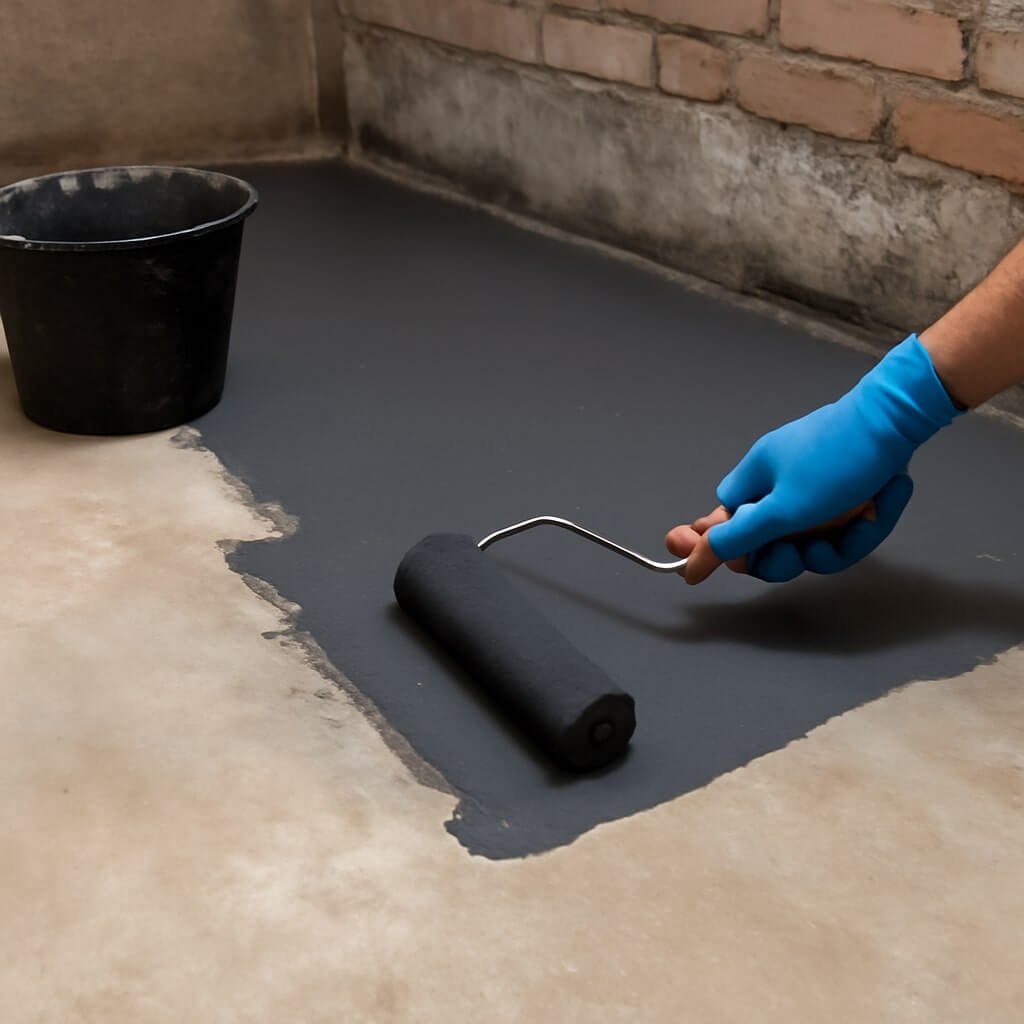
These are brush- or spray-applied coatings that form a flexible, seamless waterproof barrier. They are excellent for filling minor cracks and can conform to floor irregularities.
Waterproofing Paints and Sealers
These products create a protective film that resists water penetration. They’re typically cheaper and easier to apply but may require more frequent maintenance.
Installing a Drainage System
For basements with serious water issues, installing an interior drainage system (like a French drain) and sump pump may be necessary. This method channels water away from the floor before it can cause damage.
Step-by-Step Waterproofing Process
Follow these detailed steps to waterproof your basement floor effectively:
Applying Primer and Sealant
Start with a high-quality primer designed for concrete to improve the adhesion of waterproofing materials. After it dries, apply a penetrating sealant that fills pores and minor cracks.
Layering Waterproof Membranes
Apply the liquid waterproof membrane in at least two layers, allowing proper drying time between coats. Make sure edges and corners are covered well.
Installing a Vapor Barrier
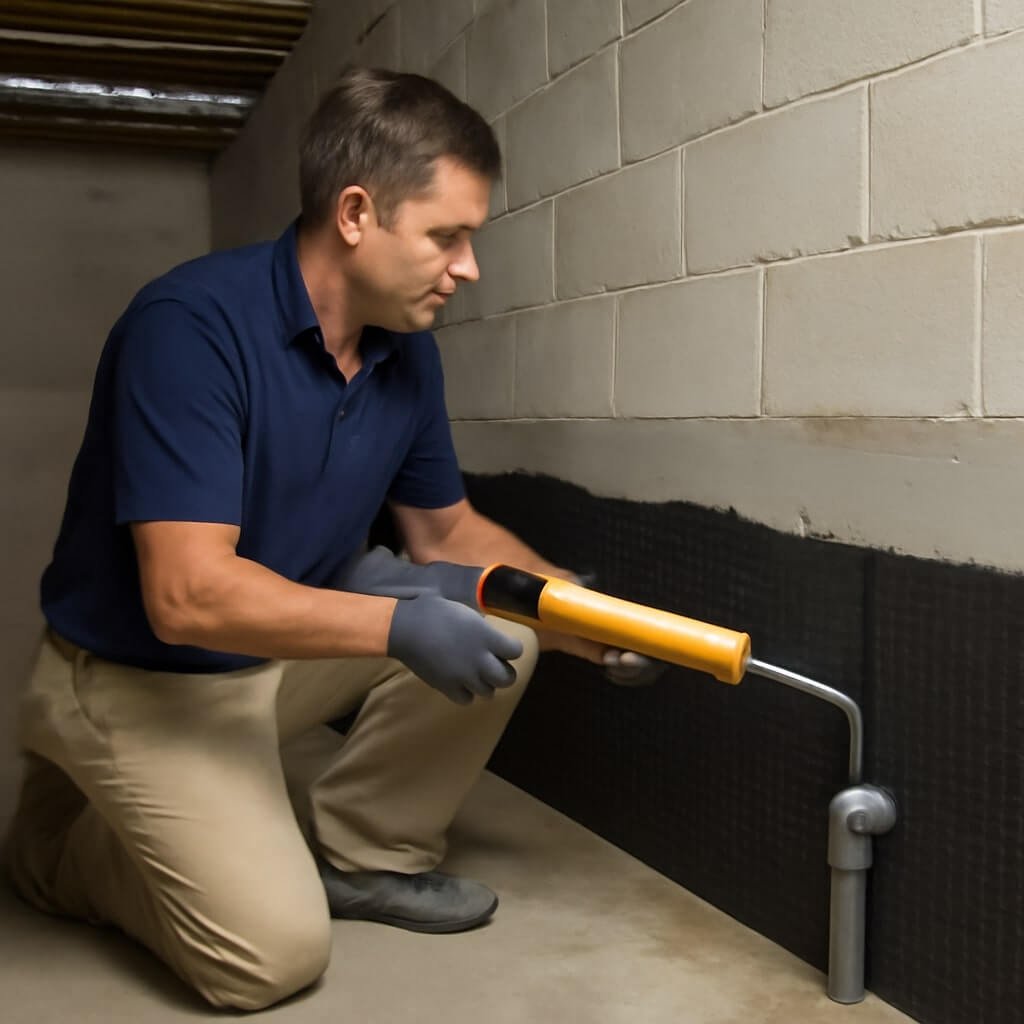
For added protection, place a heavy-duty plastic vapor barrier over the floor once waterproofing is complete. This prevents moisture from coming up through the concrete.
Maintaining Your Waterproofed Basement Floor
Waterproofing is not a one-time fix; regular maintenance ensures lasting results.
Regular Inspections and Repairs
Check your basement floor annually for new cracks, peeling membranes, or signs of moisture. Promptly repair any damage to prevent bigger problems.
Dealing with Humidity and Mold
Keep humidity levels under 60% using dehumidifiers or ventilation. Clean any mold spots immediately with appropriate cleaners to maintain a healthy environment.
Cost and Materials: What to Expect
Waterproofing costs vary based on materials and labor. DIY projects can cost between $500 and $2,000, while professional jobs range from $3,000 to $10,000 or more, especially if drainage systems are involved. Materials include primers, sealants, membranes, vapor barriers, and tools.
Professional vs DIY Basement Waterproofing
While DIY waterproofing saves money and can be rewarding, professionals bring expertise and equipment to handle complex issues. Consider your skill level and the basement’s condition before deciding.
Frequently Asked Questions (FAQs)
1. How often should I waterproof my basement floor?
Most waterproofing products last 5–10 years. Regular inspections help determine if reapplication is necessary.
2. Can I waterproof a basement floor myself?
Yes, with proper preparation and materials. However, extensive water problems may require professional intervention.
3. Will waterproofing prevent mold completely?
Waterproofing reduces moisture, but controlling humidity and ventilation is crucial to prevent mold fully.
4. What’s the best time of year to waterproof a basement?
Spring and summer are ideal when humidity is lower and drying times are faster.
5. Can waterproofing damage my flooring?
Proper waterproofing protects flooring. Incorrect application or incompatible materials might cause issues.
6. Are there eco-friendly waterproofing options?
Yes, some products are low-VOC and environmentally safe. Always check product labels.
Conclusion: Protect Your Home by Waterproofing Right
Waterproofing your basement floor like a pro requires understanding the causes of moisture, preparing thoroughly, choosing the right materials, and maintaining regularly. Taking these steps not only safeguards your home but also improves indoor air quality and adds to your property’s value. With patience and care, you can enjoy a dry, comfortable basement year-round.


